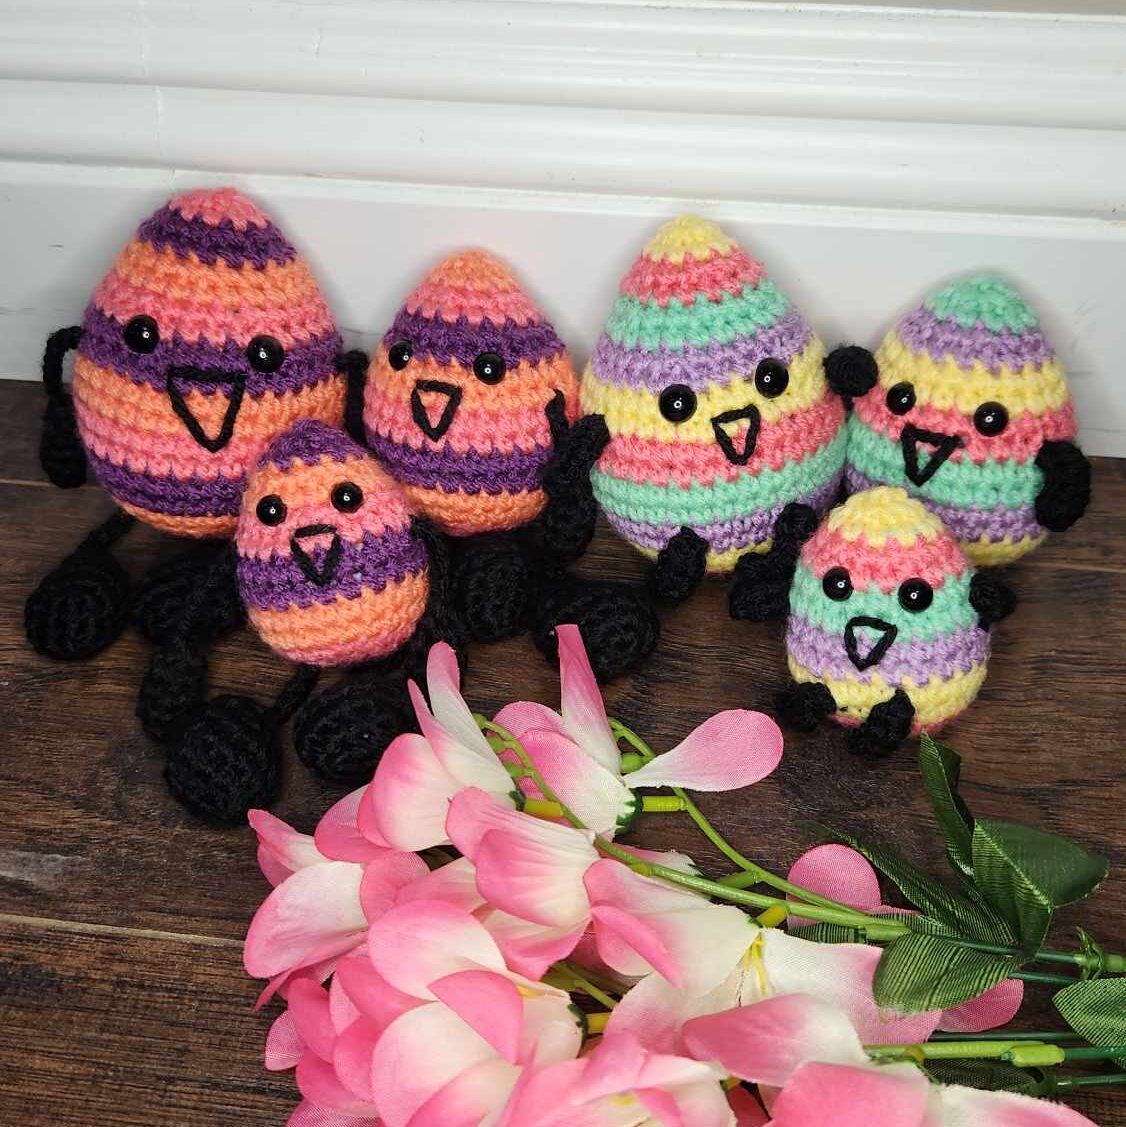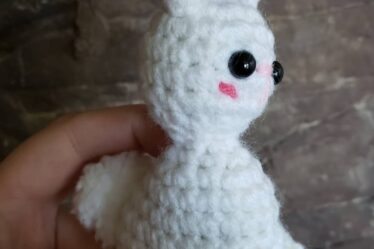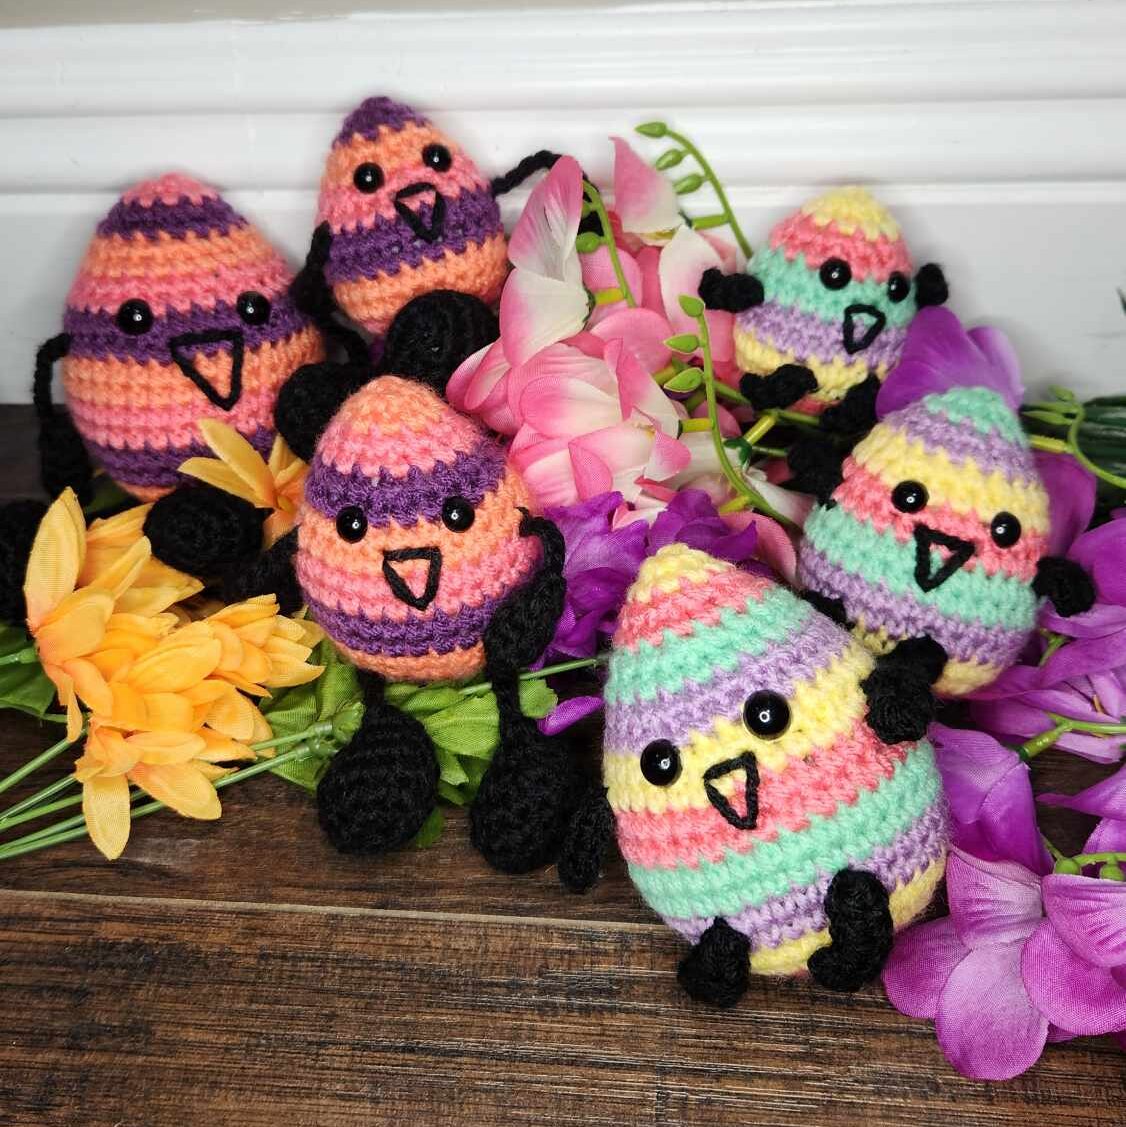

These little cuties are fun little friends for your celebrations! They are perfect for Easter Egg Hunts or decorations for Spring! They are a fun group of friends to have around!
This is such a fun and easy crochet pattern to make for the Easter Season! This pattern is such a fast make and that makes it a must make crochet egg amigurumi! The crochet legs are just so fun and you have options for what you can can make for each egg and different sizes for the amigurumi eggs! I have a hard time picking wich one I like best! But I love having my eggs dance with the long legs and the stubby legs are just so cute you will want to make sure that you crochet these adorable and easy Easter Eggs!
Do not sell, reproduce, or change the pattern itself in any way! You are welcome to sell your completed products, just make sure to refer to me as the designer! Please make sure to tag me.
@crochetwizzard #crochetwizzard
Materials –
- Worsted weight yarn
- Any colors.
- Hook size 3.5mm (E)
- 8, 9, and 10mm Safety Eyes, or an alternative form of eyes
- Stitch Marker
- PolyFill
- Tapestry Needle
- Scissors
- Sewing Pins
US Terminology –
Abbreviations –
- Rd(s) – Round(s)
- MR – Magic Ring
- St(s) – Stitch(s)
- Ch – Chain
- Sc – Single Crochet
- Hdc – Half Double Crochet
- Inc – Increase
- Dec – Invisible Decrease
- In front loops only pick up the next two loops, yarn over, and pull through 2 loops.
- FO – Fasten Off
- FLO – Front Loop Only – for closing up holes.
Notes –
- Magic Ring Alternative – chain 2 and single crochet in the second chain from the hook.
- This will be crocheted in the round.
- If not specified or in () repeat to the end of the round.
- Stuff as you go.
The pattern has a downloadable PDF version purchasable here!
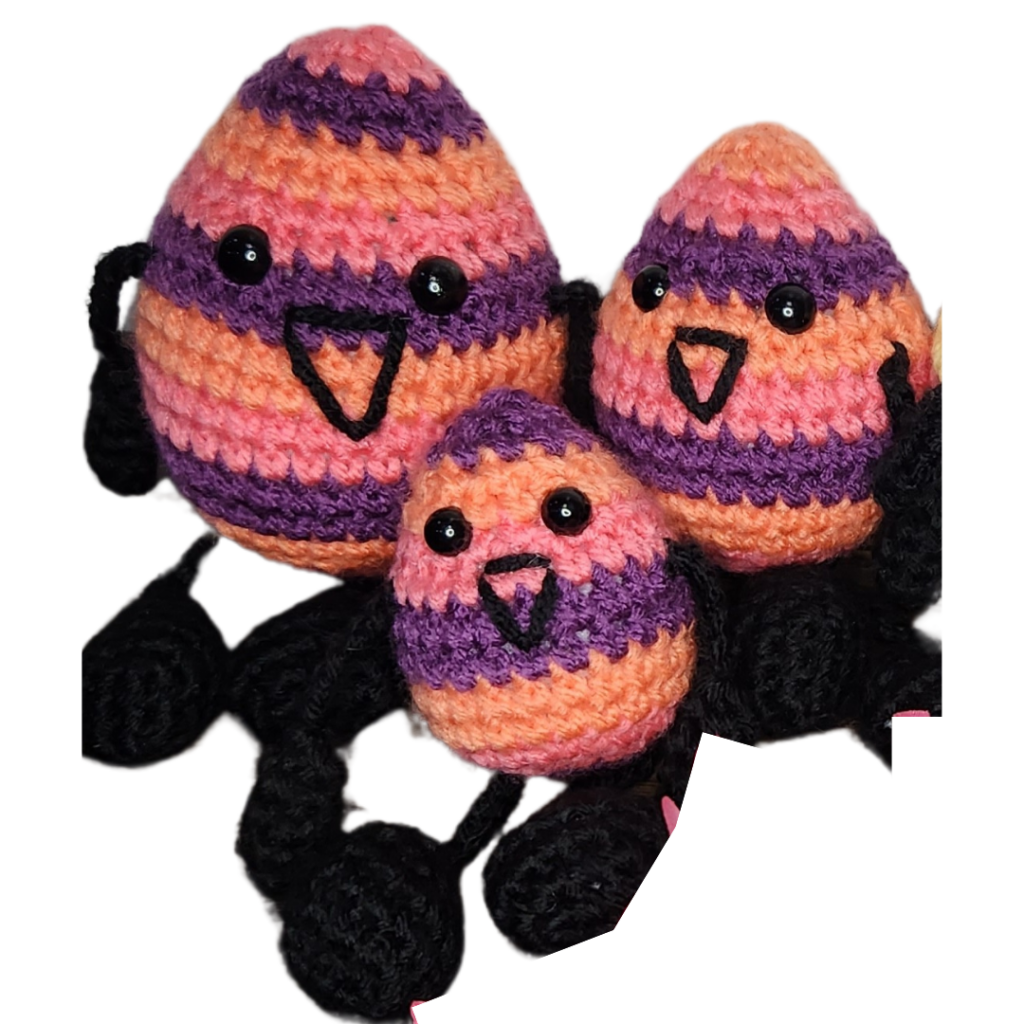
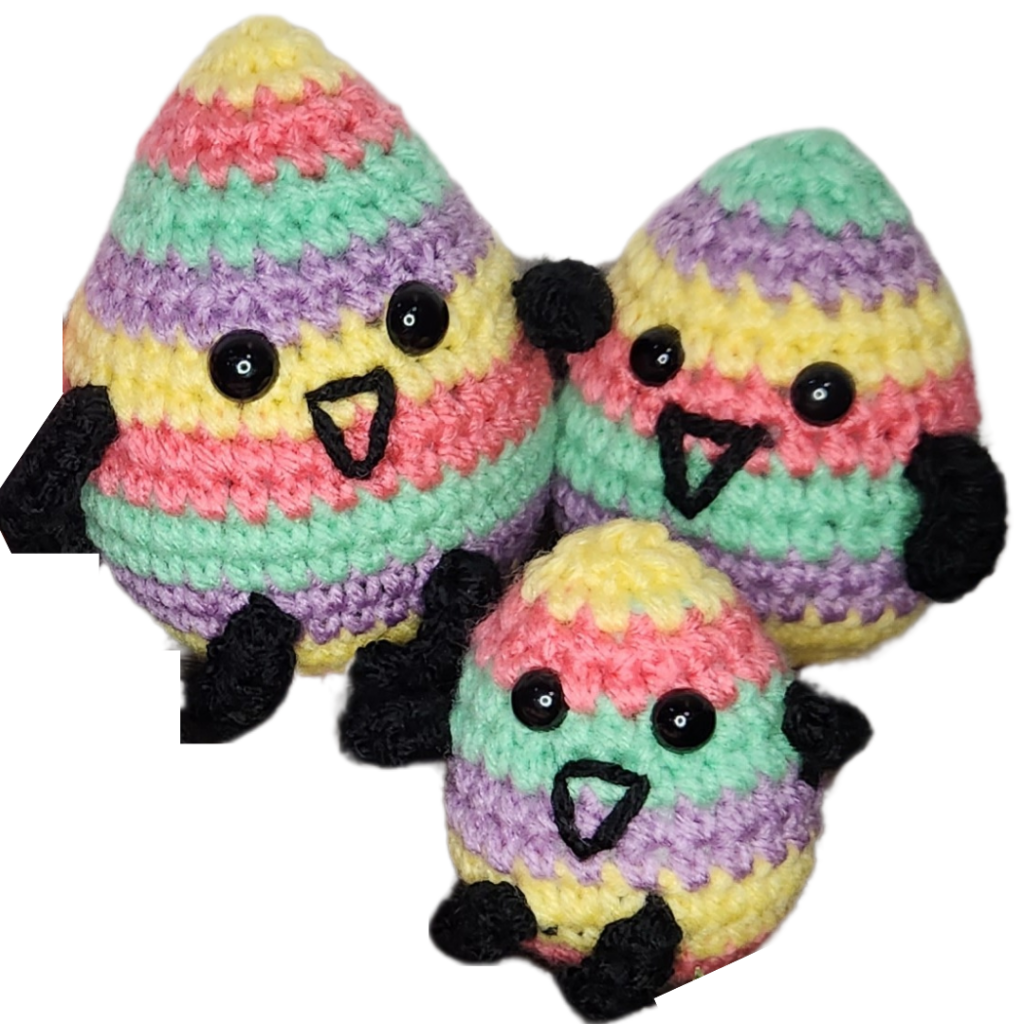
If you would like the get the pattern for these long legs and the rest of the family you will need to purchase the PDF pattern.
Egg –
Egg Colors –
There are lots of pictures in the downloadable PDF version purchasable here!
With this egg I used 2 different striping methods. The classic switch colors after 2 rds and working in a spiral. These instructions are below.
This is worked in the round and in the spiral. This is simple as long as you take time to keep track of where your rds start. You start by doing half (or a third if you are doing 3 colors) the instructions in 1 color and then the other half of the instructions for the rd in the other color. Like with rd 1 do sc, hdc, dc in red and then white (for 3 colors do sc, hdc with each color). Switch which color you start with each rd. To count your sc around rds count 6 or 7 rds on both sides to make sure you have 6 or 7 full rds.
Momma Egg-
There are lots of pictures in the downloadable PDF version purchasable here!
Rd 1: sc 6 in MR (6)
Rd 2: inc (12)
Rd 3: sc, inc (18)
Rd 4: sc 2, inc (24)
Rd 5: sc 3, inc (30)
Rd 6: sc 12, change to black, ch 6, hdc in the 2nd ch from the hook, hdc in the last 4 chs, change to egg color, sc 4, change to black, ch 6, hdc in the 2nd ch from the hook, hdc in the last 4 chs, change to egg color, sc 14. (30)
Rd 7-9: sc around (30) (3 rounds)
Rd 10: sc 8, change to black, ch 6, hdc in the 2nd ch from the hook, hdc in the last 4 chs, change to egg color, sc 12, change to black, ch 6, hdc in the 2nd ch from the hook, hdc in the last 4 chs, change to egg color, sc 10 (30)
Rd 11: sc around (30)
Rd 12: sc 3, dec (24)
Rd 13: sc around (24)
Rd 14: sc 2, dec (18) Insert eyes between rds 12 and 13, about 4 sts apart.
Rd 15: sc around (18)
Rd 16: sc, dec (12)
Rd 17: sc around (12)
Rd 18: dec (6) Add mouth.
FO and sew hole closed, weave in ends.
There are lots of pictures in the downloadable PDF version purchasable here!
I would love to see your pictures! Please tag me in your pictures!
@crochetwizzard #crochetwizzard #dancingeggsfamily #crocheteasteregg #crochetegg!
If you have any questions, please feel free to contact me! You can direct message me on Facebook or Instagram at @crochetwizzard or email me at amidesigns@crochetwizzard.com
