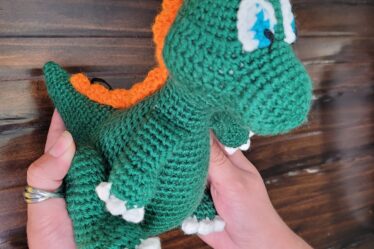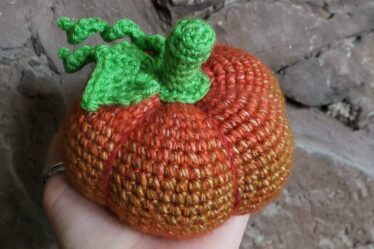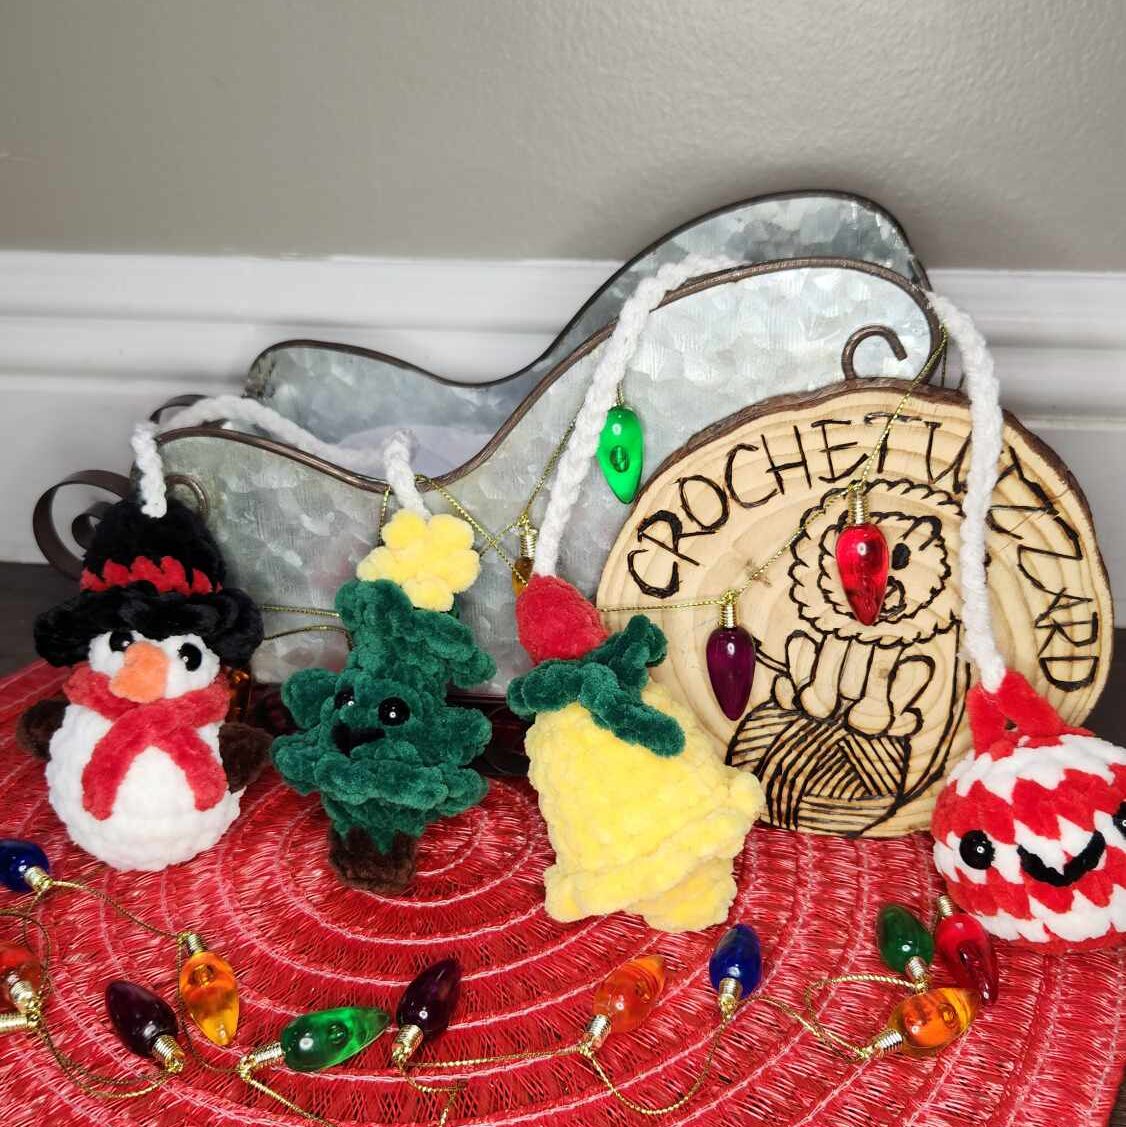
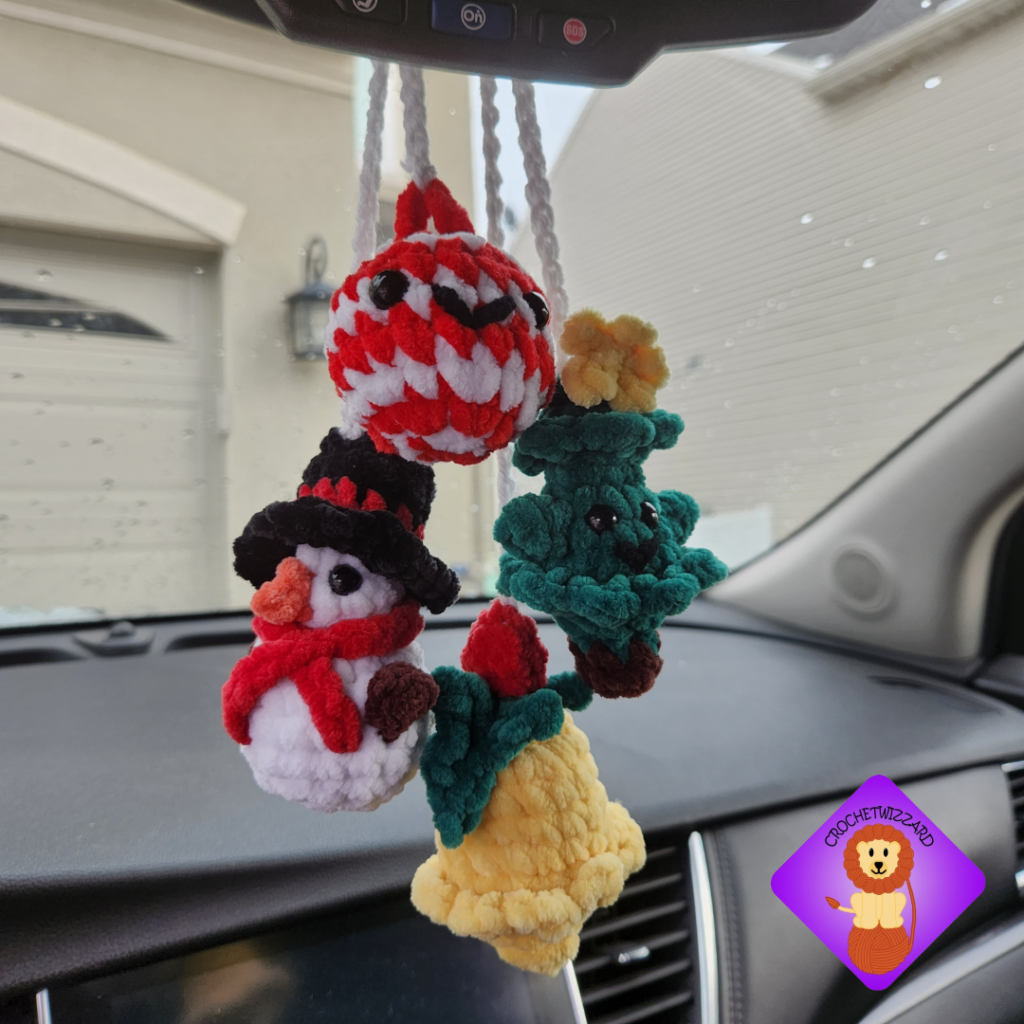
These little cuties are the perfect car-hanging buddies for the Christmas season! They are just too perfect and I cannot get over how stinkin adorable they are! They are just so perfect! You won’t want to miss out on them!
These are the perfect Christmas amigurumi for your tree, car, gifts, and so many different things! This crochet pattern is quick and easy and you won’t want to miss out because they are the cutest little things ever! They are perfect for markets because they are quick to make and you can make loads of them in one day! I have made all of them in one day and they are just so much fun to make and you won’t want to stop making them!
Do not sell, reproduce or change the pattern itself in any way! You are welcome to sell your completed products, just make sure to refer to me as the designer! Please make sure to tag me.
@crochetwizzard #crochetwizzar
Materials –
- Super Bulky Yarn
- White, black, red, orange, green, yellow, and can use a different red for the bobble.
- Hook size 6mm (J)
- 2x 9mm and 1x 10mm Safety Eyes, or an alternative form of eyes
- Stitch Marker
- PolyFill
- Tapestry Needle
- Scissors
- Sewing Pins
US Terminology –
Abbreviations –
- Rd(s) – Round(s)
- MR – Magic Ring
- St(s) – Stitch(s)
- Sst – Same Stitch
- The sts in the () are done in the same st
- Spst – Separate Stitches
- The sts in the () are done in separate sts
- Ch – Chain
- Sl St – Slip Stitch
- Sc – Single Crochet
- Hdc – Half Double Crochet
- Hdc Pc – Half Double Crochet Popcorn St
- 5 hdc in same st, take the loop off your hook, insert hook through 1st hdc, put loop back on and pull through, ch 1
- Mp – Mini Picot
- Ch 2, sl st in the 2nd ch from the hook.
- Inc – Increase
- Dec – Invisible Decrease
- In front loops only, pick up the next two loops, yarn over, and pull through 2 loops.
- FO – Finish Off
- FLO – Front Loop Only – for closing up holes.
Notes –
- Magic Ring Alternative – chain 2 and single crochet in the second chain from the hook.
- This will be crocheted in the round.
- If not specified or in () repeat to the end of the round.
- Stuff as you go.
The pattern has a downloadable PDF version purchasable here!
Snowman
Head and Body –
White
There are pictures in the downloadable PDF version purchasable here!
Rd 1: sc 6 in MR
Rd 2: inc (12)
Rd 3: sc around (12)
Rd 4: dec (6)
Rd 5: inc (12)
Rd 6: sc, inc (18)
Rd 7: sc 4, change to brown, hdc pc, change to white, sc 8, change to brown, hdc pc, change to white, sc 4 (16 sc, 2 hdc pc)
Rd 8-9: sc around (18) (2 rounds)
Rd 10: sc, dec (12) Insert 9mm eyes between rds 2 and 3, about 3 sts between.
Rd 11: dec (6)
FO, and weave in ends.
Nose-
Orange –
There are pictures in the downloadable PDF version purchasable here!
Sl st around st between eyes, mp, sl st around first st on the body.
FO, and weave in ends.
Hat –
Black –
There are pictures in the downloadable PDF version purchasable here!
Rd 1: sc 6 in MR
Rd 2: inc (12)
Rd 3: BLO sc around (12)
Rd 4: sc around (12)
Change to Red
Rd 5: sc around (12)
Change to Black
Rd 6: FLO sc, inc (18)
Rd 7: sc 2, inc (24)
FO, and attach the hat to the head of the snowman.
Scarf –
Red –
There are pictures in the downloadable PDF version purchasable here!
Ch 25
FO, and weave in ends if you so choose or leave long and sew to the body.
Bauble –
White and Red
There are pictures in the downloadable PDF version purchasable here!
This is worked in the round and in the spiral. This is simple as long as you take time to keep track of where your rds starts. You start by doing half the instructions in 1 color and then the other half of the instructions for the rd in the other color and continue that all the way up to rd 8. Like with rd 1 do sc, hdc, dc in red then white.
To count your sc around rds count 3 rds on both sides to make sure you have 3 full rds.
There are pictures in the downloadable PDF version purchasable here!
Rd 1: (sc, hdc, dc)spst x2 in MR
Rd 2: inc (12) (3 inc in each color)
Rd 3: sc, inc (18) ([sc, inc] x3 in each color)
Rd 4-6: sc around (18) (3 rounds) (sc 9 in each color)
Rd 7: sc, dec (12) Insert 10mm eyes between rds 5 and 6, about 4 sts between.
Rd 8: dec, ch 5, sl st around the post on the other side of the rd (this is the loop on the bauble) (6)
FO, and weave in ends. Add mouth.
Christmas Tree –
Tree –
Green
There are pictures in the downloadable PDF version purchasable here!
Rd 1: sc 6 in MR
Rd 2: sc around (6)
Rd 3: inc (12)
Rd 4a: FLO (sl st, ch, hdc, ch)Spst around
Rd 4b: BLO dec (6)
Rd 5: sc around (6)
Rd 6: inc (12)
Rd 7: sc 3, hdc pc, sc 5, hdc pc, sc 2 (10 sc, 2 hdc pc)
Rd 8: sc, inc (18) Insert 9mm eyes between rds 6 and 7, about 2 sts between.
Rd 9a: FLO (sl st, ch, hdc, ch)Spst around
Rd 9b: BLO sc, dec (12)
Rd 10: dec (6)
Change to Brown
Rd 11: FLO sc around (6)
Rd 12: sc around (6)
FO, and weave in ends. Add mouth.
Star –
Yellow
There are pictures in the downloadable PDF version purchasable here!
(Sl st, mp) x5, sl st in MR
FO, and attach to the top of the tree.
Christmas Bell –
Bell –
Yellow –
There are pictures in the downloadable PDF version purchasable here!
Rd 1: sc 6 in MR
Rd 2: inc (12)
Rd 3: sc 2, inc (16)
Rd 4-7: sc around (16) (4 rounds)
Rd 8a: FLO (sl st, ch, hdc, ch)
(When working on the sl st hdc ripple make sure you pull the sl st tight)
Rd 8b: sc 2, dec (12)
Rd 9: dec (6)
Rd 10: FLO sc around (6)
FO, and weave in ends.
Holly Leaf –
Green –
There are pictures in the downloadable PDF version purchasable here!
Ch 5
Sc in 2nd ch from hook, mp, ch, sl st, ch, sc, mp, ch, (sl st, ch, sc, mp, ch, sl st, ch in the last ch), continue working around the ch, sc, mp, ch, sl st, ch, (sc, mp, ch, sl st, ch, sc, mp, ch) in the last st, sl st in the first st of the leaf.
FO, leave a tail for sewing. Attach to top of the bell.
Berries –
Red –
There are pictures in the downloadable PDF version purchasable here!
Rd 1: sc 6 in MR
Rd 2-3: sc around (6) (2 rounds)
FO, leave a tail for sewing. Clos through the FLO. You don’t need to stuff. Attach on top of the leaf.
Connection Chain –
White Worsted Weight
Sl st to the first ami, ch 40 or 60 depending on how long you want them to hang down, sl st to the second ami, and FO. Weave in ends.
I would love to see your pictures! Please tag me in your pictures,
@crochetwizzard #crochetwizzard #christmasbuddies!
If you have any questions, please feel free to contact me! You can direct message me on Facebook or Instagram at @crochetwizzard or email me at amidesigns@crochetwizzard.com.

