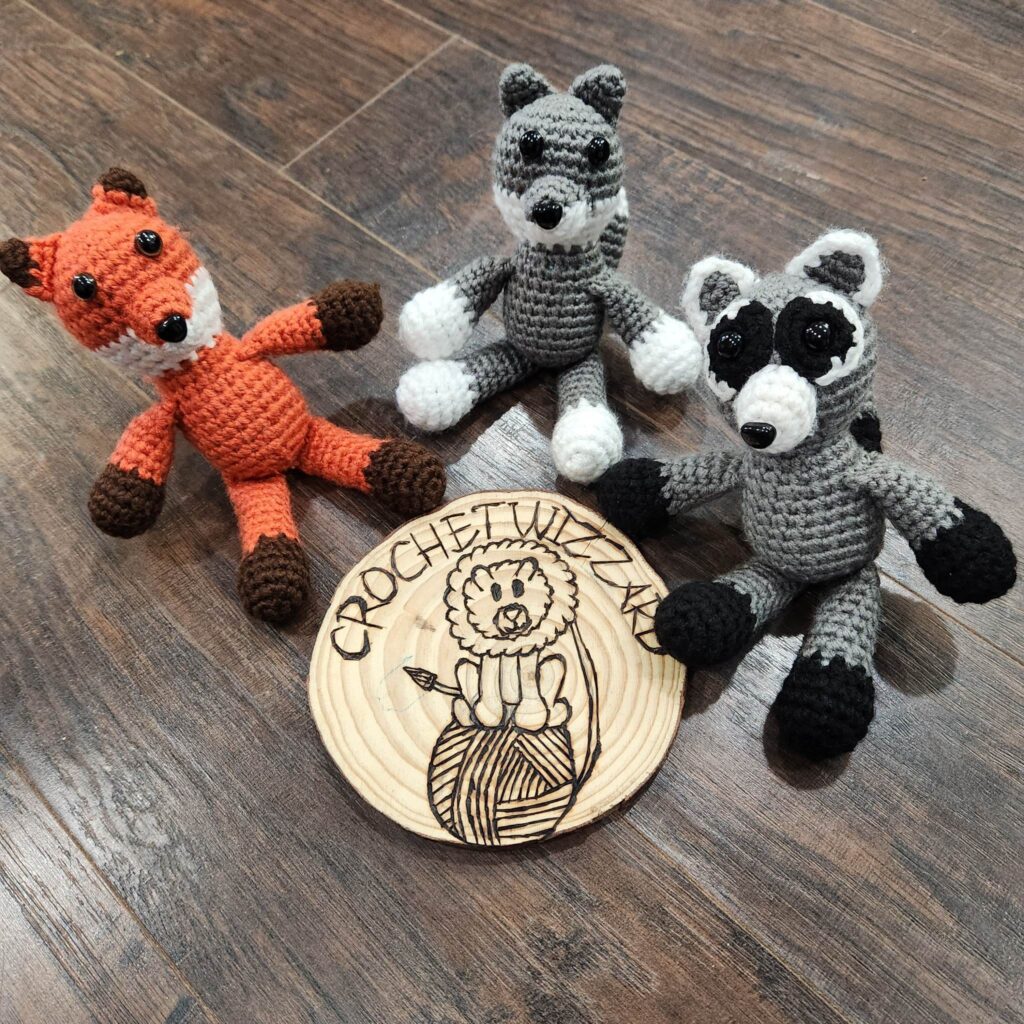
This little cutie is a new addition to the Woodland Animal Buddies. I have been slowly working on them for a couple of years now! I started with my Fox. Each time I have introduced one of these cuties in this series they have been introduced through a mystery CAL and I have enjoyed doing this! I plan to continue to add more to this series doing the same thing with a mystery CAL! I’m excited about this series and for this fun little Woodland friend. I hope you also enjoy it!
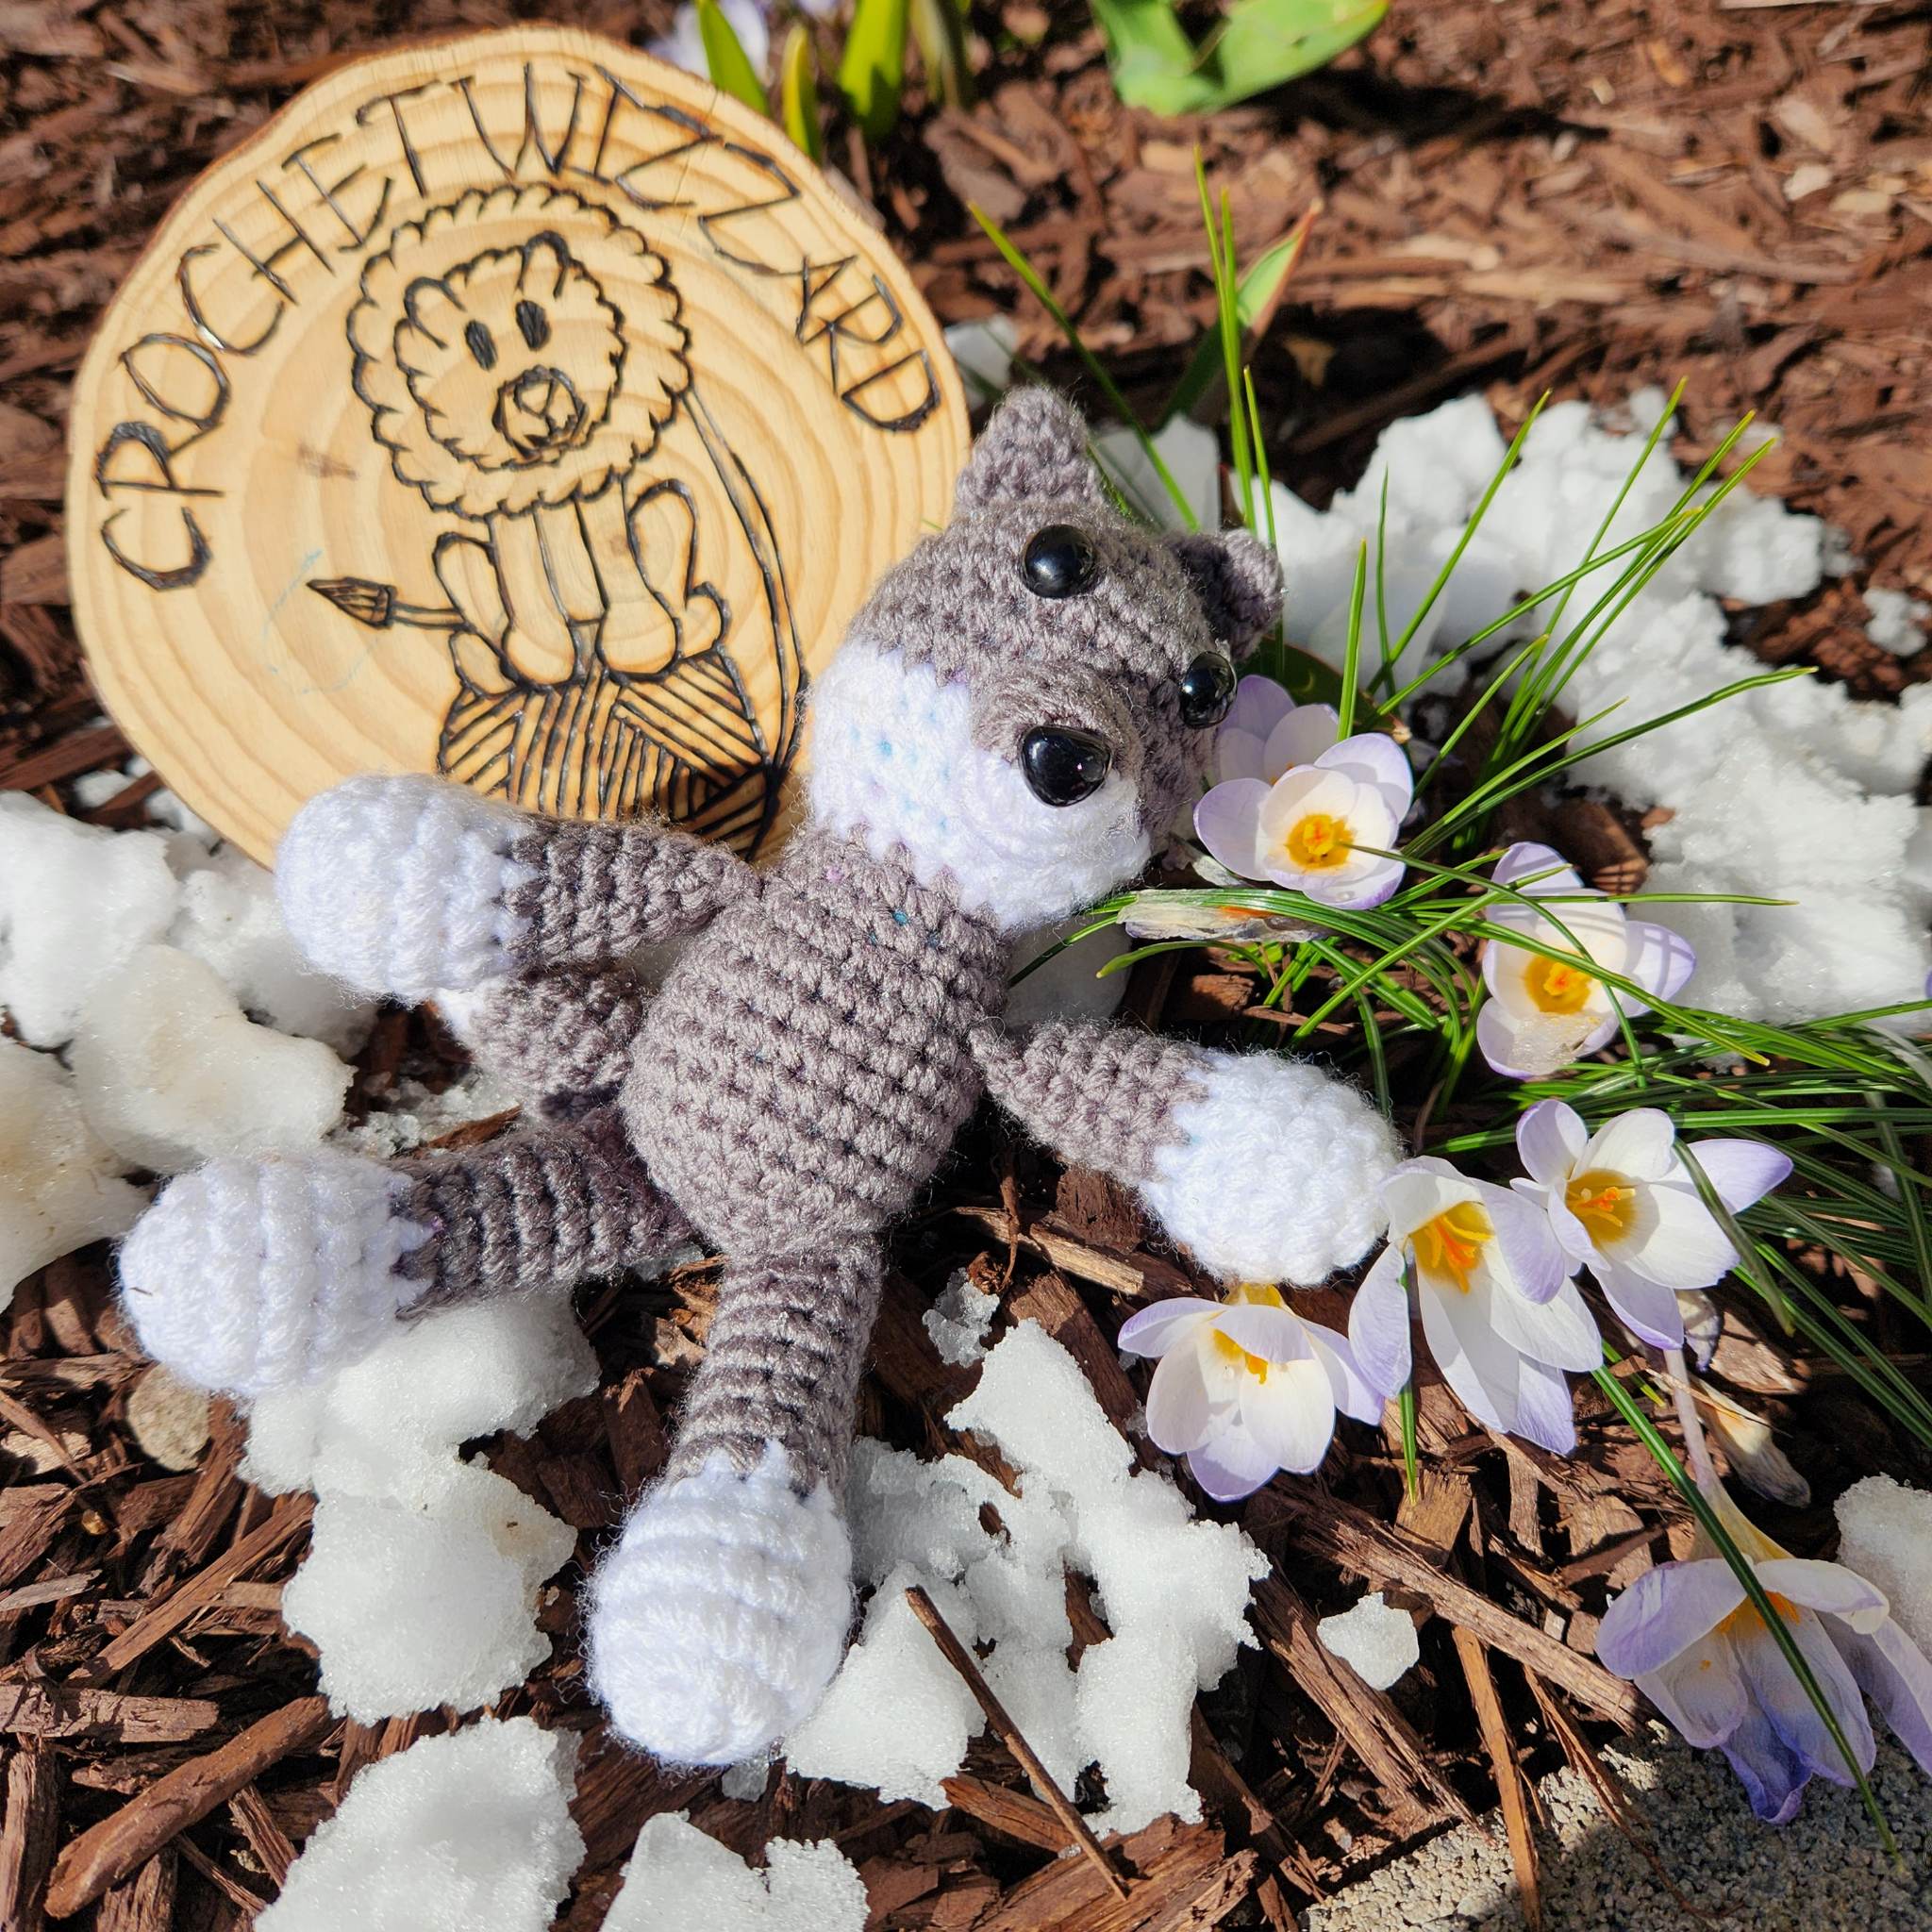
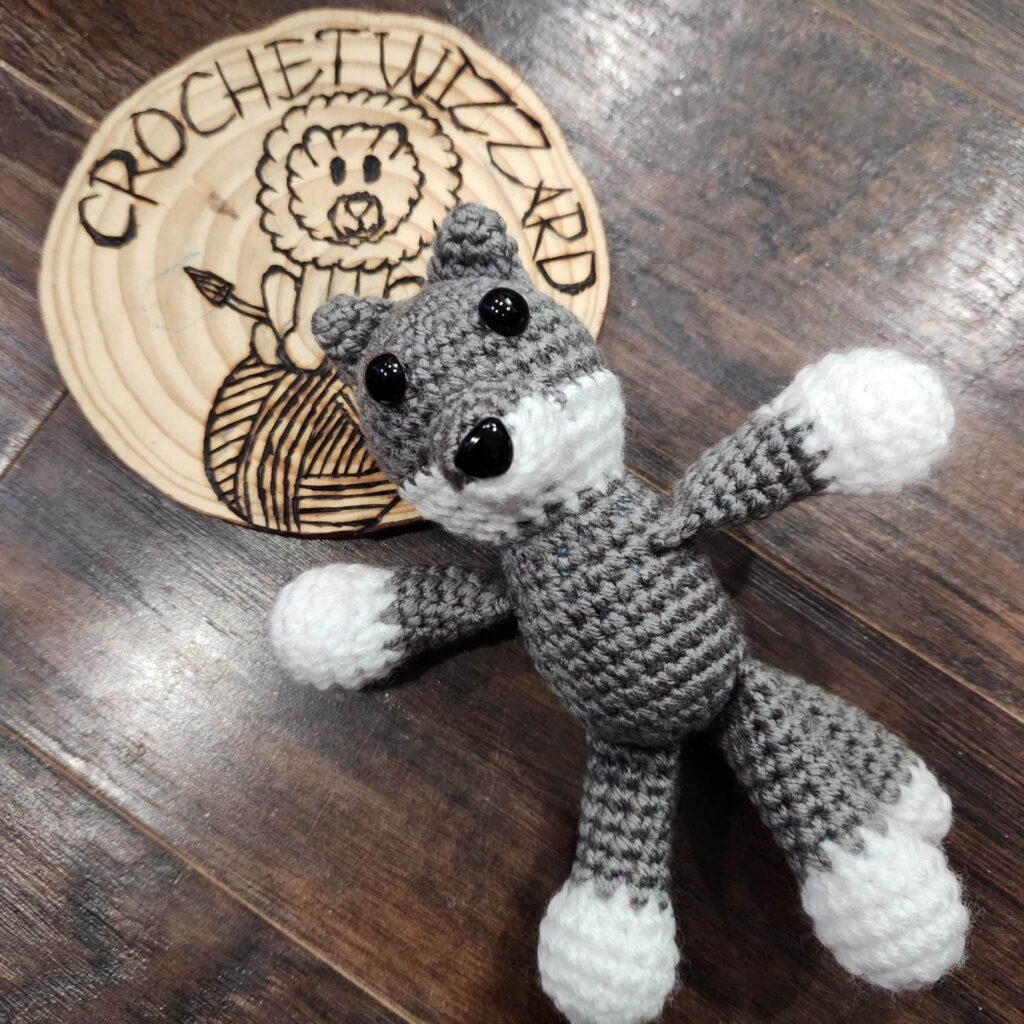
Winter the Wolf enjoys doing fun things in the snow with her Woodland Buddies! They like to frolic through the snow and woods. Winter the Wolf is a quick runner and she can hide better in the snow than the others! She is fast and quiet. All though Franklin the Fox and Rocco the Racoon are quick, the snow is Winter the Wolf’s realm! Franklin the Fox and Rocco the Racoon have their strengths though!
When I was crocheting Winter the Wolf I enjoyed watching as her sweet little form slowly appeared as I crocheted the different pieces. One thing that I really love about Winter the Wolf is that she has a lot of pieces that you attach while you crochet rather than needing to sew them on! How nice is that! I really hate sewing amigurumi pieces onto my crochet toys, so I have worked hard to limit the amount of sewing without compromising the desired look. So enjoy your no sew attaching of the arms and tail! It is so fun to see your little Wolf come to life while they crochet her!


Do not sell, reproduce or change the pattern itself in any way! You are welcome to sell your completed products, just make sure to refer to me as the designer! Please make sure to tag me.
@crochetwizzard #crochetwizzard
Materials –
- Worsted weight yarn
- Dark grey and white
- Hook size 3.5mm (E)
- 10mm Safety Eyes, or an alternative form of eyes
- 9x11mm Safety Nose, or an alternative form of nose
- Stitch Marker
- PolyFill
- Tapestry Needle
- Scissors
- Sewing Pins
US Abbreviations –
- Rd(s) – Round(s)
- MR – Magic Ring
- St(s) – Stitch(s)
- Sst – Same stitch
- The sts in the () are done in the same stitch
- Spst – Separate Stitches
- The sts in the () are done in separate sts
- Sl St – Slip Stitch
- Sc – Single Crochet
- Inc – Increase
- Dec – Invisible Decrease
- In front loops only pick up the next two loops, yarn over, and pull through 2 loops
- YO – Yarn Over
- FO – Fasten Off
- FLO – Front Loop Only – for closing up holes.
Notes –
- Magic Ring Alternative – chain 2 and single crochet in the second chain from the hook.
- This will be crocheted in the round.
- If not specified or in () repeat to the end of the round.
- Stuff as you go.
Arms – (make 2)
White
There are more pictures in the downloadable PDF version purchasable here!
Rd 1: sc 6 in MR
Rd 2: inc (12)
Rd 3: sc 3, inc (15)
Rd 4-5: sc around (15) (2 rounds)
Rd 4: sc, dec (10)
Switch to Grey
Rd 7: sc 4, dec, sc 4 (9)
Rd 8-12: sc around (9) (5 rounds) Stuff hand well and arm loosely.
Rd 13: Fold, and sc through both sides 4 times to close.
FO, leaving a short tail.
Legs – (make 2)
White
There are more pictures in the downloadable PDF version purchasable here!
Rd 1: sc 6 in MR
Rd 2: inc (12)
Rd 3: sc 3, inc (15)
Rd 4-5: sc around (15) (2 rounds)
Rd 6: sc, dec (10)
Switch to Grey
Rd 7: sc 4, dec, sc 4 (9)
Rd 8-14: sc around (9) (7 rounds) Stuff foot well and leg loosely.
Rd 15: fold, and sc through both sides 4 times to close.
FO, leaving a tail for sewing. Attach by lining them up and start in the middle hole at the bottom, out on either side of the body once completed.
Tail –
White
There are more pictures in the downloadable PDF version purchasable here!
Rd 1: sc 6 in MR
Rd 2: sc around (6)
Rd 3: inc (12)
Change to Grey
Rd 4-10: sc around (12) (7 rounds)
Rd 11: sc, dec (8)
Rd 12-13: sc around (8) (2 rounds) Stuff lightly
Rd 14: fold, and sc through both 4 times to close.
FO, with a short tail.
Head and Body –
Grey
There are more pictures in the downloadable PDF version purchasable here!
Rd 1: sc 6 in MR
Rd 2: inc (12) You will add the eye’s after attaching the tail.
Rd 3: sc, inc (18)
Rd 4: sc 2, inc (24)
Rd 5: sc 3, inc (30)
Rd 6-9: sc around (30) (4 rounds)
Change to White
Rd 10: sc around (30)
Rd 11: sc 3, dec (24)
Rd 12: sc 2, dec (18)
Rd 13: sc, dec (12)
Change to Grey
Rd 14: sc around (12)
Rd 15: sc, inc (18)
Rd 16: sc around (18) Stuff Brush the cheeks out.
There are more pictures in the downloadable PDF version purchasable here!
Rd 17: this is where you will add the 1st arm, insert your hook through the 1st st of the arm and body doing (sc, inc, 2 sc)spst, inc, sc 2, inc, sc (weaving your ends in as you sc), this is where you will add the 2nd arm, insert your hook through the 1st st of the arm and body doing (sc, inc, 2 sc)spst (as you continue to crochet weave in ends), inc, sc 2, inc, sc (24)
Rd 18-22: sc around (24) (5 rounds)
Rd 23: sc 20, this is where you will add the tail, insert your hook through the 1st st of the tail and body doing (sc 4)spst (24)
Rd 24: sc 2, dec (18) Insert eyes between rds 6 and 7, 5 stitches apart.
Rd 25: sc, dec (12) Stuff
Rd 26: dec (6)
FO, leaving a tail for sewing.
Ears – (Make 2)
Grey
There are more pictures in the downloadable PDF version purchasable here!
Rd 1: sc 6 in MR
Rd 2: sc around (6)
Rd 3: sc, inc (9)
Rd 4: fold and sc through both sides 4 times to close.
FO, leaving a tail for sewing. Attach on either side of the head, behind the eyes. Sew along row 4 of the ear starting between rds 2 and 3, going down on either side.
Muzzle –
White then Grey
There are more pictures in the downloadable PDF version purchasable here!
Start with white and halfway around the rd switch to grey on each rd. That would be after 3 sc for rd 1, 3 inc on the second rd then after 6 sc on rd 3-4.
Rd 1: sc 6 in MR (6)
Rd 2: inc (12)
Rd 3-4: sc around (12) (2 rounds)
FO, leaving a tail for sewing. Attach the nose in the center hole. Attach the nose, centered between the eyes with the colors lined up. Stuffing loosely as you sew.
There are more pictures in the downloadable PDF version purchasable here!
I would love to see your pictures! Please tag me in your pictures,
@crochetwizzard #crochetwizzard #winterthewolf #crochetwolf!
If you have any questions, please feel free to contact me! You can direct message me on Facebook or Instagram at @crochetwizzard or email me at crochetwizzardd@gmail.com