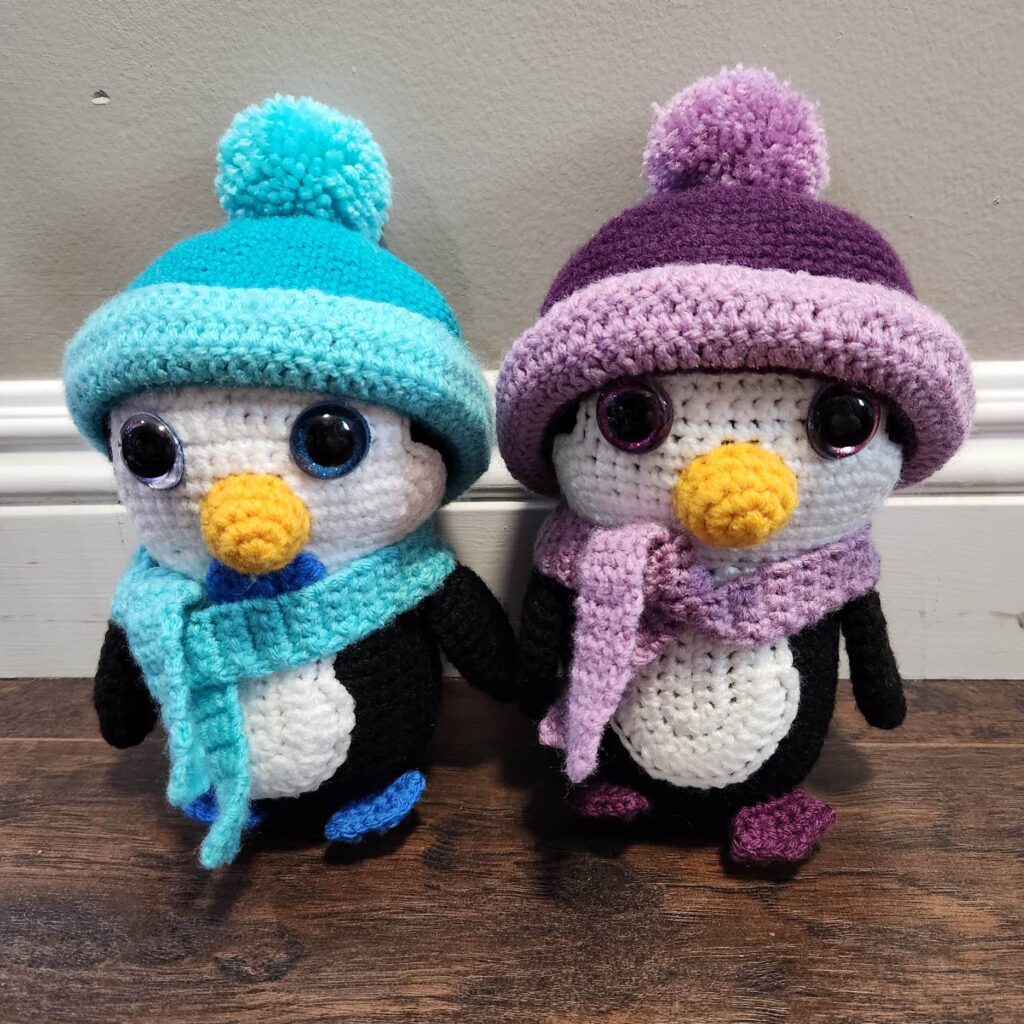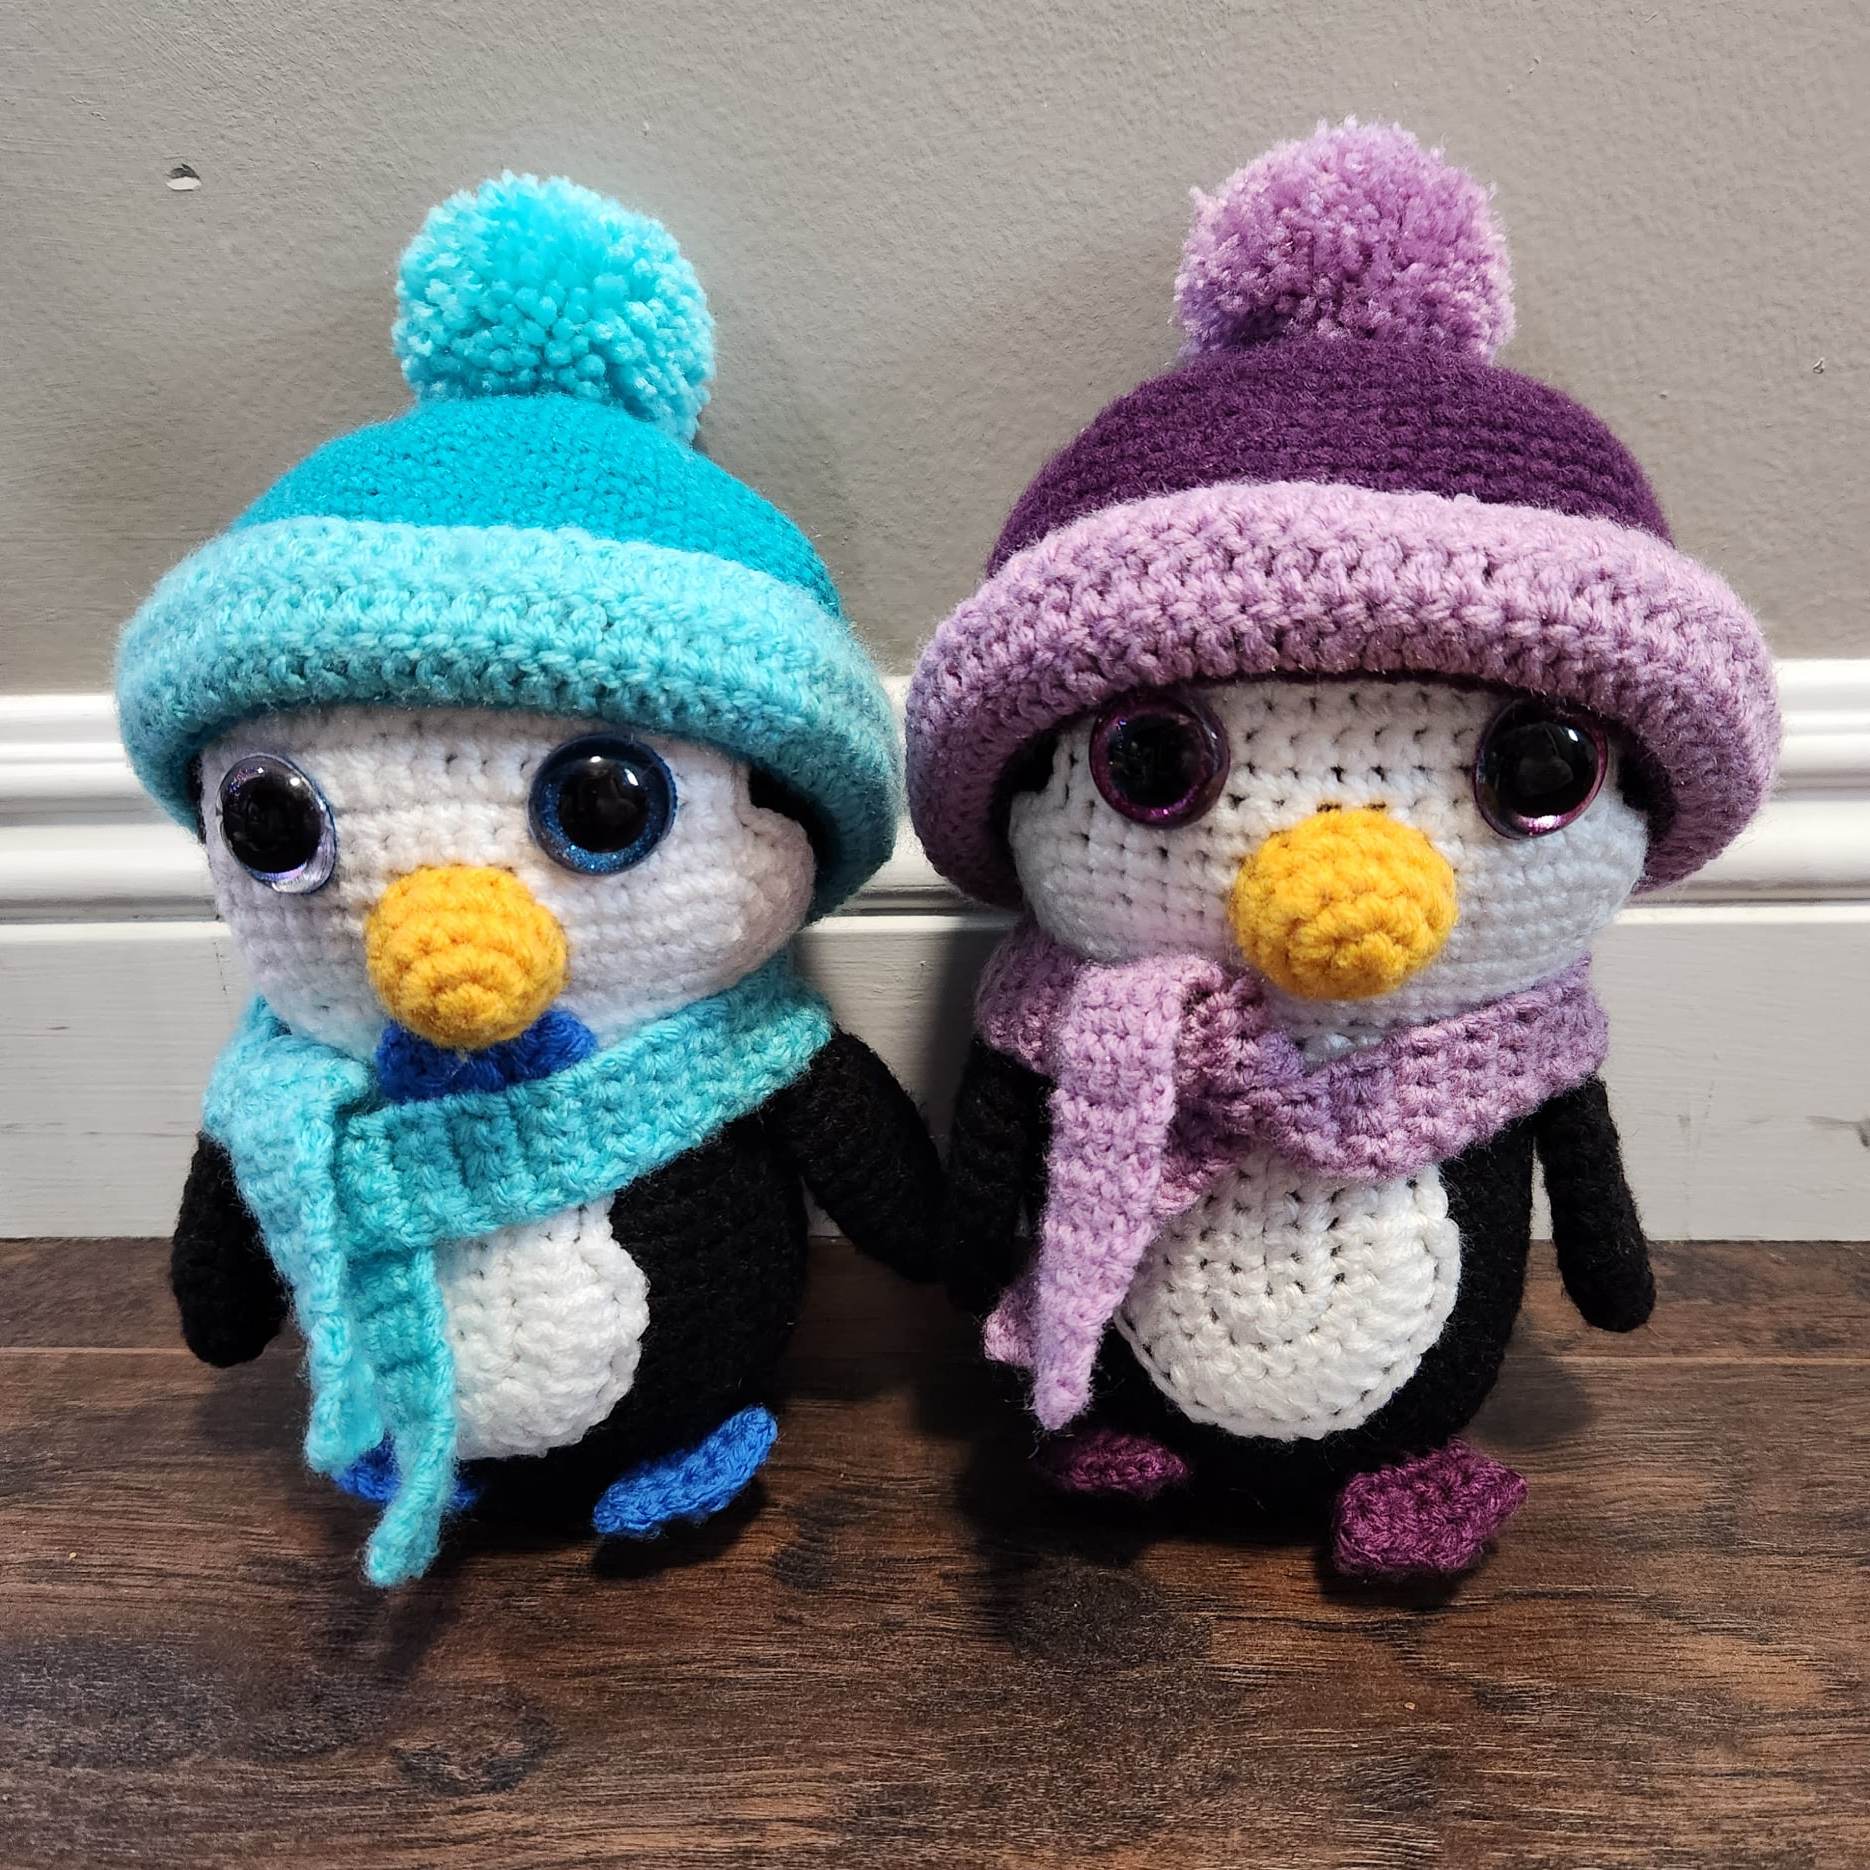
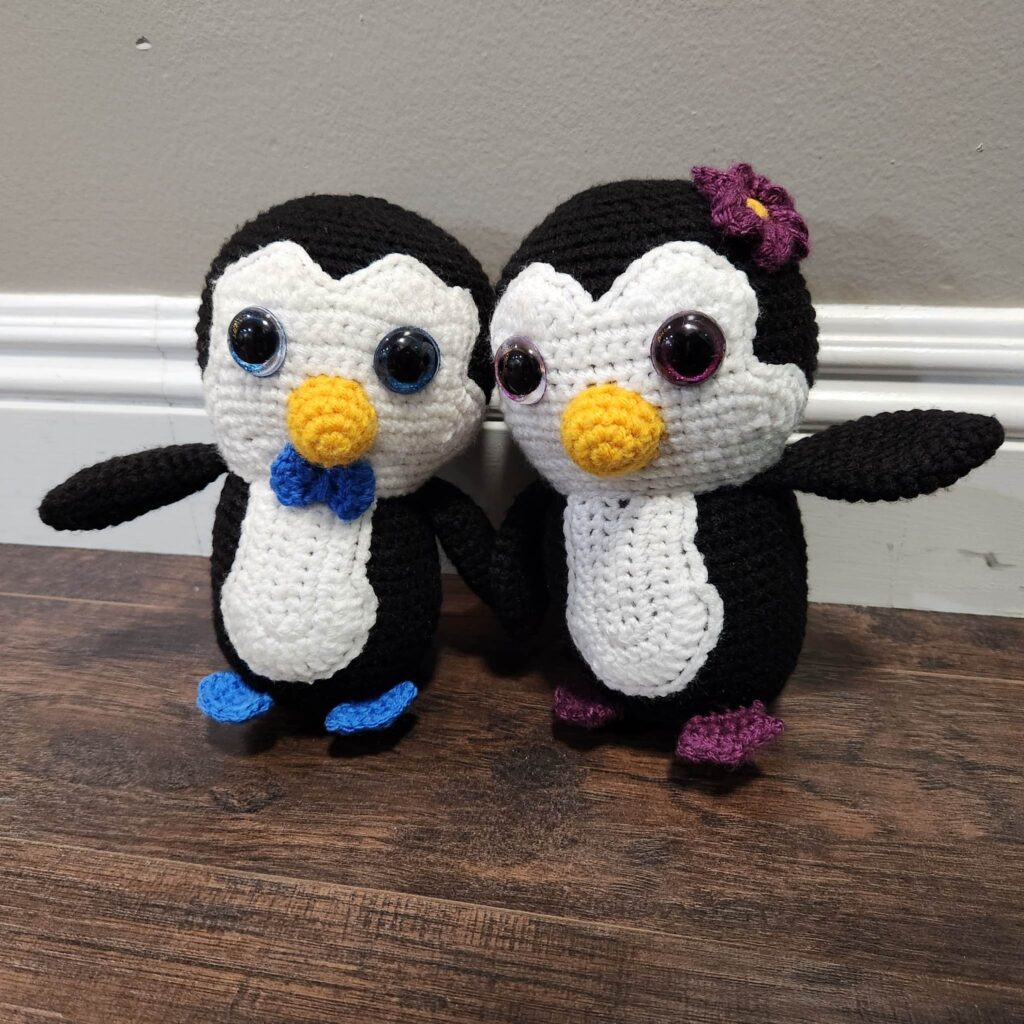
These little cuties are a tribute to a close friend and to a time of my life that is incredibly important to me. I served a mission for the Church of Jesus Christ and a friend, and I each had a penguin plush that was named Hugsy and Hugset and I wanted to make a crocheted version of them. I think they turned out well!
Do not sell, reproduce or change the pattern itself in any way! You are welcome to sell your completed products, just make sure to refer to me as the designer! Please make sure to tag me.
@crochetwizzard #crochetwizzard
Materials –
- Worsted weight yarn
- Black, white, yellow, and blue or purple
- Hook size 3.5mm (E)
- 24mm Safety Eyes, or an alternative form of eyes
- Stitch Marker
- PolyFill
- Tapestry Needle and a long needle is helpful
- Scissors
- Sewing Pins
US Terminology – Abbreviations –
- Rd(s) – Round(s)
- MR – Magic Ring
- St(s) – Stitch(s)
- Sst – Same Stitch
- The sts in the () are done in the same st
- Spst – Separate Stitch
- The sts in the () are done in separate sts
- Sl St – Slip Stitch
- CH – Chain
- Sc – Single Crochet
- Hdc – Half Double Crochet
- Dc – Double Crochet
- Tc – Triple Crochet
- Fsc – Foundation Single Crochet
- Ch 2 (for this pattern you will only ch 1), *insert hook into 2 ch from hook (into the ch), YO, pull through ch, YO pull through 1 loop to create the ch, YO, and pull through all 2 loops, repeat from * for the desired number of sts, but insert hook into the ch created before. (for the other f sts make alterations accordingly for each st)
- Inc – Increase
- Dc Inc – Double Crochet Increase
- Dec – Invisible Decrease
- In front loops only pick up the next two loops, yarn over, and pull through 2 loops.
- FO – Fasten Off
- FLO – Front Loop Only – for closing up holes
Notes –
- Magic Ring Alternative – chain 2 and single crochet in the second chain from the hook.
- This will be crocheted in the round.
- If not specified or in () repeat to the end of the round.
- Stuff as you go
- Make sure you stuff the head well. The face patch and hat will fit better that way.
Wings (make 2) –
Black
Rd 1: sc 6 in MR
Rd 2: sc around (6)
Rd 3: inc (12)
Rd 4 sc around (12)
Rd 5: sc, inc (18)
Rd 6-11: sc around (18) (6 rounds)
Rd 12: sc, dec (12)
Rd 13-14: sc around (12) (2 rounds)
Row 15: fold in half and sc through both, sc 6 times
FO, leaving a small tail
Feet (make 2) –
Blue or Purple
There are more pictures in the downloadable PDF version purchasable here!
Ch 5
Row 1: sc in the 2nd ch from hook, sc 3, ch 1, and turn (4)
Row 2: inc, sc 2, inc, ch 1 and turn (6)
Row 3: (sc, hdc)sst, sc, ch, dc, ch, sc, hdc, sc (7)
FO, leaving a small tail and sew in. You will be attaching while you crochet the body later and you will crochet through the back side of the ch.
Face Patch –
White
There are more pictures in the downloadable PDF version purchasable here!
Ch 17
Rd 1: sc in 2 ch from hook, sc 14, 4 sc, and continue working around the ch, sc 14, 3 sc, in last st (36)
Rd 2: inc, sc 14, inc x4, sc 14, inc x3 (44)
Rd 3: sc, inc, sc 14, inc, sc, inc, sc 2, inc, sc, inc, sc 14, inc, sc, inc, sc 2, inc (52)
From here on out you will be working on the vertical part of the face patch in rows rather than rds.
Row 4: sl st 4, sc 14, ch 1 and turn (4 sl sts that won’t be used in the next row, 14 sc)
Row 5-6: sc 14, ch 1 and turn (14) (2 rows)
Row 7: inc, sc 12, inc, ch 1 and turn (16)
Row 8: sc 16, ch 1 and turn (16)
Row 9: (sl st, sc, hdc, [dc, tc]sst, dc, hdc, sc, sl st)spst x2, ch 1 and turn (18)
Row 10: sc 2, hdc 2, dc, hdc 2, sc, sl st 2, sc, hdc 2, dc, hdc 2, sc, 2 sc in the last st, continue around the face patch doing sc around, sc in first space you sc’d in.
FO, leaving a tail for sewing. Insert eyes between rds 6 and 7, about 9 sts apart without adding the backs yet.
Body and Head –
Black
Rd 1: sc 6 in MR
Rd 2: inc (12)
Rd 3: sc, inc (18)
Rd 4: sc 2, inc (24)
Rd 5: sc 3, inc (30)
Rd 6: sc 4, inc (36)
Rd 7: sc 5, inc (42)
There are more pictures in the downloadable PDF version purchasable here!
Rd 8: BLO sc 12, this is where you will add the 1st foot, insert your hook through the 1st st of the foot and the next available st on the body doing (sc 4)spst, sc 5 (weaving your ends in as you sc), this is where you will add the 2nd foot, insert your hook through the 1st st of the foot and the next available st on the body doing (sc 4)spst (as you continue to crochet weave in ends), sc 17 (42)
Rd 9-10: sc around (42) (2 rounds)
Rd 11: sc 8, inc, sc 20, inc, sc 12 (44)
Rd 12: sc 9, inc, sc 21, inc, sc 12 (46)
Rd 13-19: sc around (46) (7 rounds)
Rd 20: sc 4, dec, sc 10, dec, sc 9, dec, sc 9, dec, sc 10, dec, sc 5 (42)
Rd 21: sc around (42)
Rd 22: sc 5, dec (36)
There are more pictures in the downloadable PDF version purchasable here!
Rd 23: sc 2, dec, sc, this is where you will add the 1st wing, insert your hook through the 1st st of the wing and the next available st on the body doing (sc 3, dec, sc 2)spst, sc 2, dec, sc 4, dec, sc, (weaving your ends in as you sc), this is where you will add the 2nd wing, insert your hook through the 1st st of the wing and the next available st on the body doing (sc 3, dec, sc 2)spst (as you continue to crochet weave in ends, sc 2, dec, sc 2 (30)
Rd 24: sc 4, inc (36)
Rd 25: sc 5, inc (42)
Rd 26: sdc 6, inc (48)
Rd 27: sc 7, inc (54)
Rd 28: sc 8, inc (60)
Rd 29-37: sc around (60) (9 rounds)
Rd 38: sc 8, dec (54) Insert eyes between rds 32 and 33, about 9 sts apart, and add backs. When sewing make sure the bottom ends between rds 23 and 24.
Rd 39: sc 7, dec (48)
Rd 40: sc 6, dec (42)
Rd 41: sc 5, dec (36)
Rd 42: sc 4, dec (30)
Rd 43: sc 3, dec (24)
Rd 44: sc 2, dec (18)
Rd 45: sc, dec (12)
Rd 46: dec (6) Stuff head stiffly.
FO, and weave in ends.
Belly Patch –
Whtie
There are more pictures in the downloadable PDF version purchasable here!
Ch 10
Row 1: sc in 2 ch from hook, sc 7, 4 sc sst, and continue working around the ch, sc 8, ch 1 and turn (20)
Row 2: sc 8, inc x4, sc 8, ch 1 and turn (24)
Row 3: sc 8, inc, sc, inc, sc 2, inc, sc, inc, sc 8, ch 1 and turn (28)
Row 4: sc 6, hdc 2, dc inc, dc 2, dc inc, dc 4, dc inc, dc 2, dc inc, hdc 2, sc 6 (32)
FO, leaving a tail for sewing. Sew starting at the base of the face patch and down to rd 10.
Beak –
Yellow
There are more pictures in the downloadable PDF version purchasable here!
Rd 1: sc 5 in MR
Rd 2: inc (10)
Rd 3: sc, (inc, sc 2)spst x3 (13)
Rd 4: sc around (13)
FO, leaving a tail for sewing. Stuff while sewing with the beak starting above rd 4 and down to the last rd.
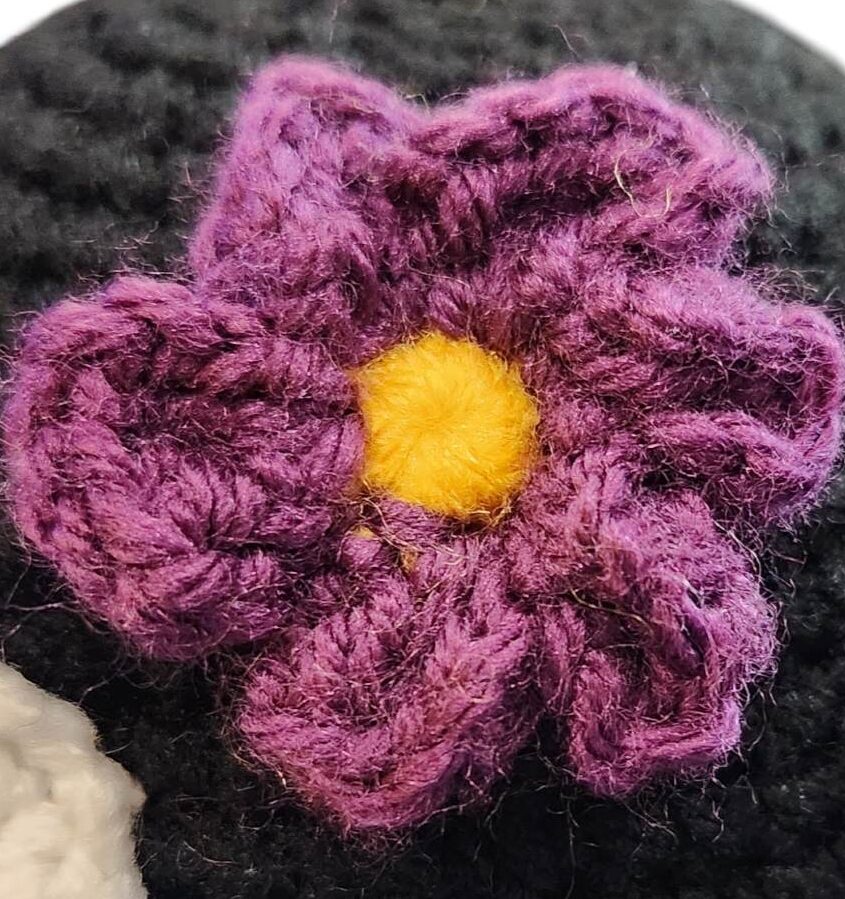
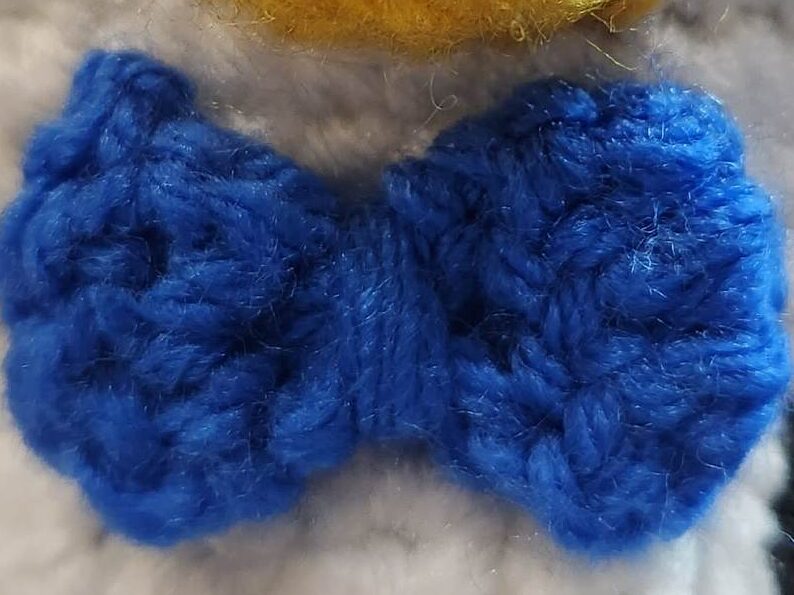
In the Printable PDF you will be able to find the pattern for the bowtie, flower, hat, and scarf. To complete your Hugsy and Hugset make sure that you purchase the Printable PDF!
I would love to see your pictures! Please tag me in your pictures,
@crochetwizzard #crochetwizzard #hugsyandhugset #crochetpenguin
If you have any questions, please feel free to contact me! You can direct message me on Facebook or Instagram at @crochetwizzard or email me at amidesigns@crochetwizzard.com
