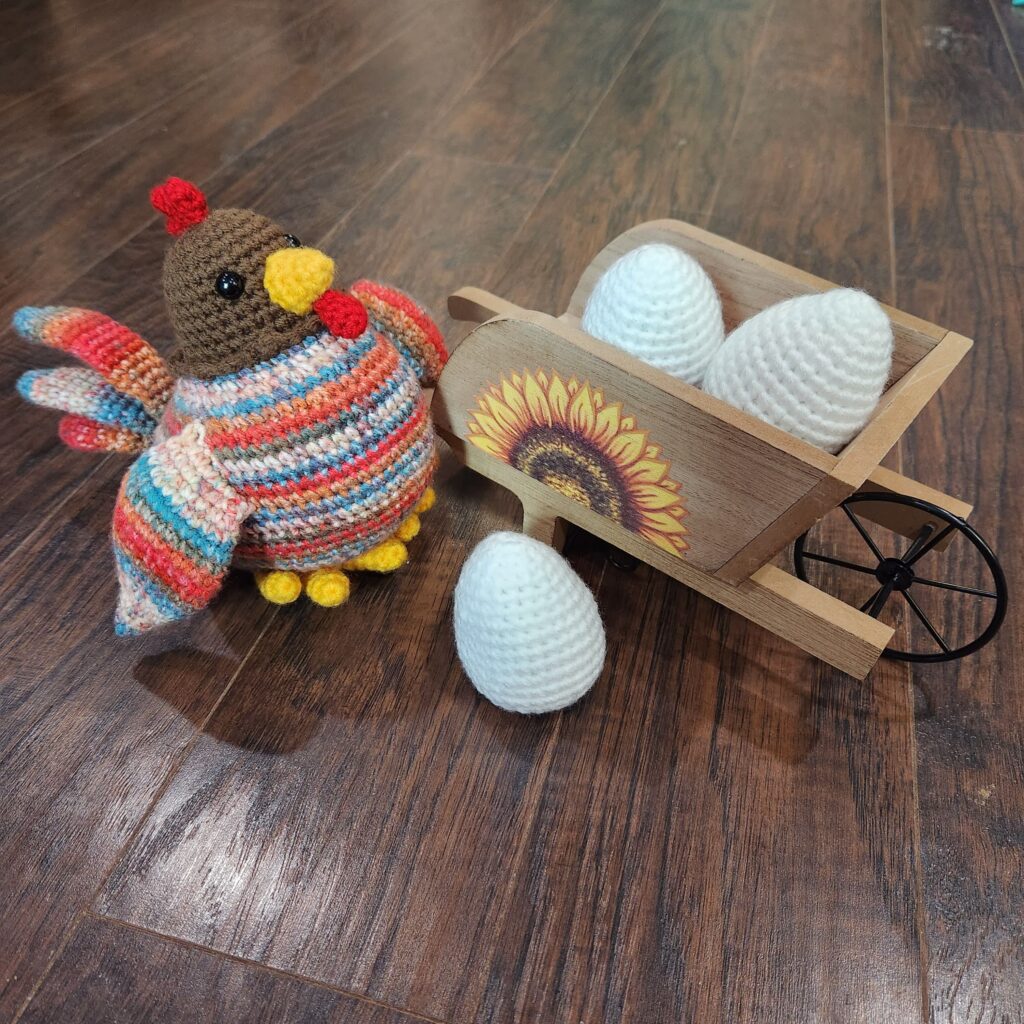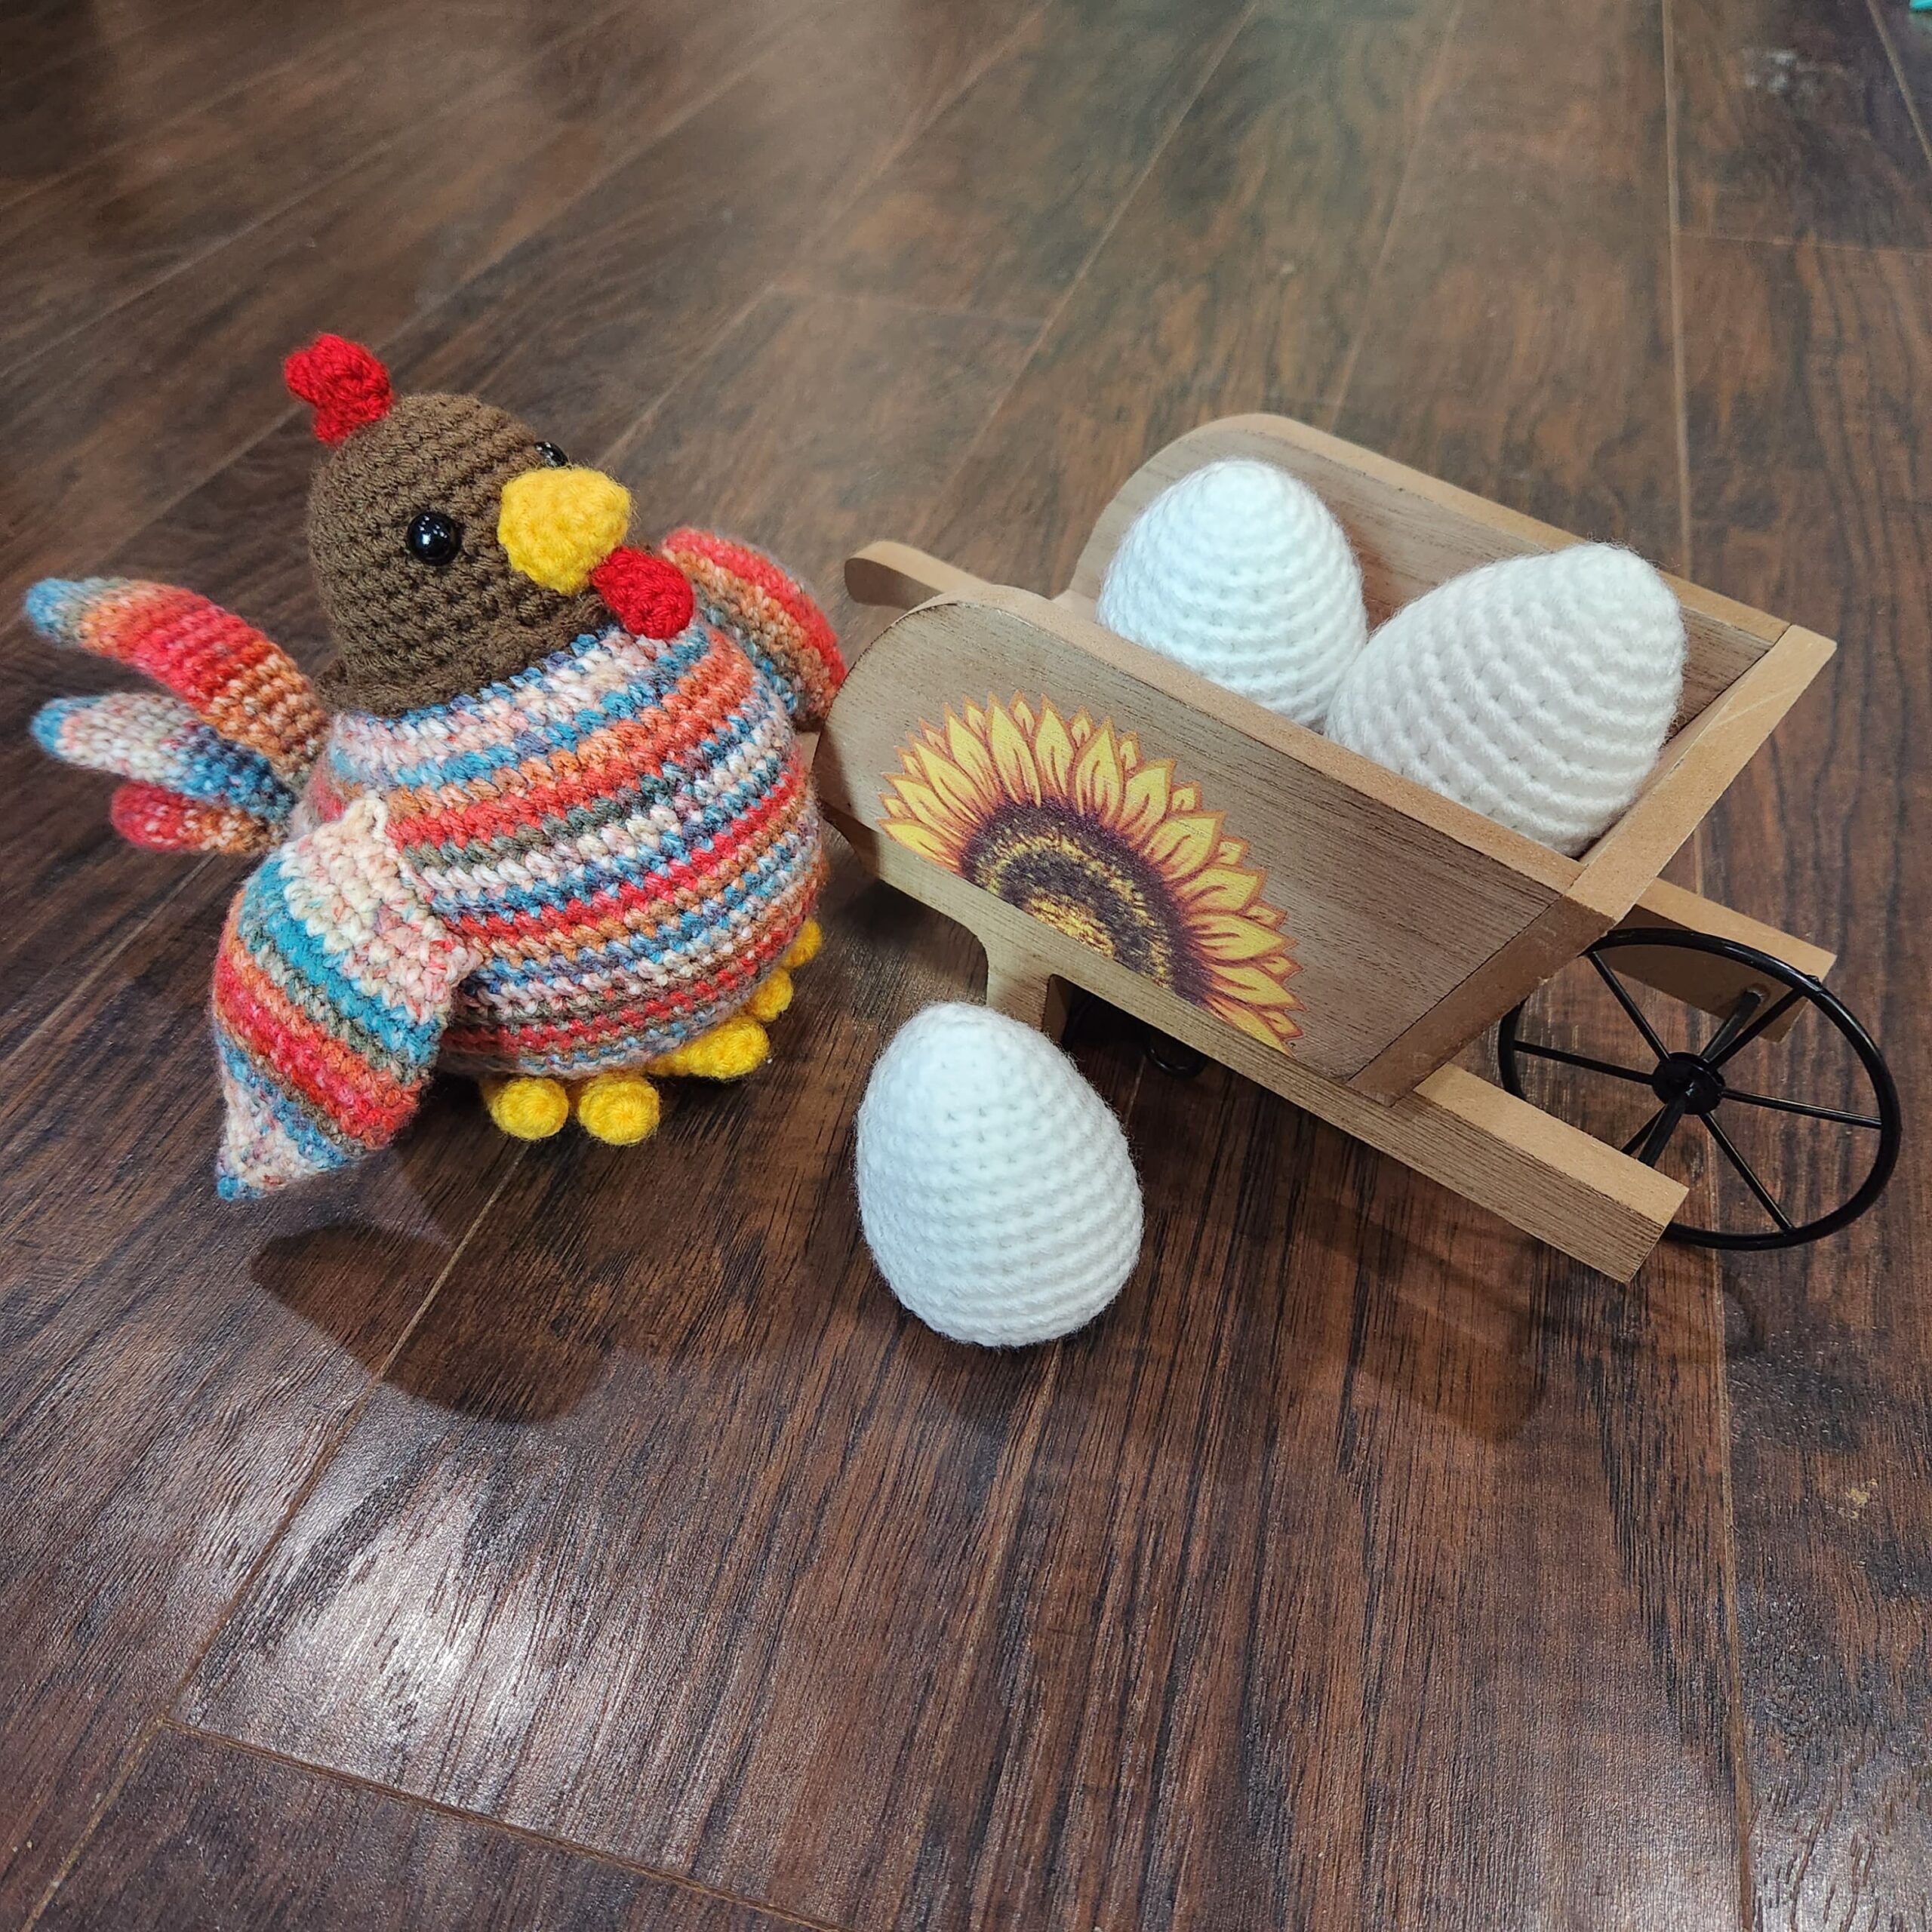
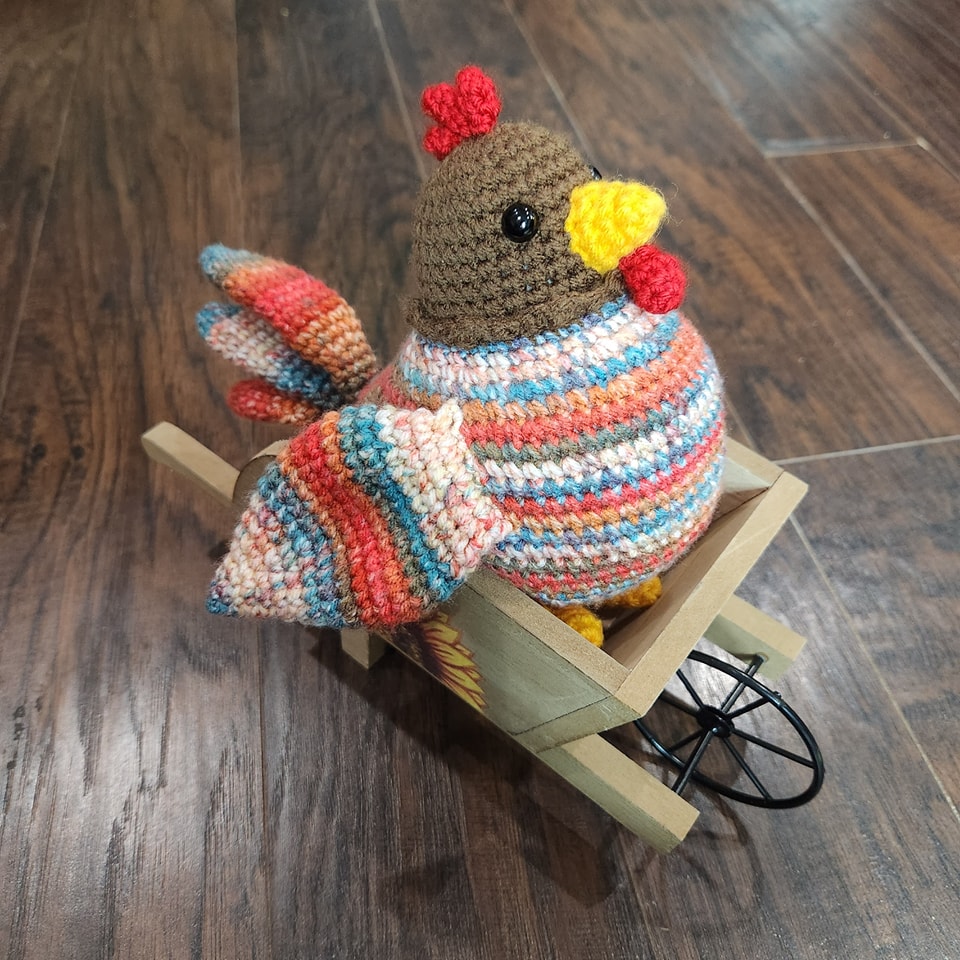
This little cutie is a sweet little chicken. I made her in honor of my Grandma. She loved chickens! She passed away in 2021 and so I made a chicken in her honor and oh how I loved her so much! I hope you will too!
Do not sell, reproduce or change the pattern itself in any way! You are welcome to sell your completed products, just make sure to refer to me as the designer! Please make sure to tag me.
@crochetwizzard #crochetwizzard
Materials-
- Worsted weight yarn
- Brown, body color, yellow, red, and white.
- Hook size 3.5mm (E)
- 10mm Safety Eyes, or an alternative form of eyes
- Stitch Marker
- PolyFill
- Tapestry Needle
- Scissors
- Sewing Pins
US Terminology-
Abbreviations-
- Rd(s)- Round(s)
- MR- Magic Ring
- St(s)- Stitch(s)
- Sc- Single Crochet
- Dc- Double Crochet
- Inc- Increase
- Dec- Invisible Decrease
- In front loops only pick up the next two loops, yarn over, and pull through 2 loops.
- FO- Fasten Off
- FLO- Front Loop Only- for closing up holes.
Notes-
- Magic Ring Alternative- chain 2 and single crochet in the second chain from the hook.
- This will be crocheted in the round.
- If not specified or in () repeat to the end of the round.
- Stuff as you go.
Tail Feathers-
Body Color
Tall Feather-
Rd 1: sc 6 in MR
Rd 2: sc around (6)
Rd 3: inc (12)
Rd 4-14: sc around (12) (11 rounds)
Rd 15: sc, dec (8) Don’t stuff.
Rd 16-21: sc around (8) (6 rounds)
Row 22: fold, and sc through both 4 times to close.
FO, leave a short tail.
Medium Feather-
Rd 1: sc 6 in MR
Rd 2: sc around (6)
Rd 3: inc (12)
Rd 4-12: sc around (12) (9 rounds)
Rd 13: sc, dec (8) Don’t stuff.
Rd 14-18: sc around (8) (5 rounds)
Row 19: fold, and sc through both 4 times to close.
FO, leave a short tail.
Small Feather-
Rd 1: sc 6 in MR
Rd 2: sc around (6)
Rd 3: inc (12)
Rd 4-10: sc around (12) (7 rounds)
Rd 11: sc, dec (8) Don’t stuff.
Rd 12-15: sc around (8) (4 rounds)
Row 16: fold, and sc through both 4 times to close.
FO, leave a short tail.
Head-
There are more pictures in the downloadable PDF version purchasable here!
Brown
Rd 1: sc 6 in MR
Rd 2: inc (12)
Rd 3: sc, inc (18)
Rd 4: sc 2, inc (24)
Rd 5: sc 3, inc (30)
Rd 6-12: sc around (30) (7 rounds)
Rd 13a: FLO (sl st, sc, ch, dc, ch, sc)x7, sl st, sc, sl st in the first sl st(30, 14 ch)
Change to Body Color
Rd 13b: BLO sc around (30)
Rd 14: sc around (30)
Rd 15: sc 4, inc (36)
Rd 16: ch 7, sc in the 2nd ch from the hook and replace the st marker here, sc in each of the next 5 ch, (sc 5, inc) x6, on the underside of the ch sc 5, sc 3 in the last ch (56)
Rd 17: inc, sc 5, (sc 6, inc) x6, sc 5, inc 3 (66) Attach eyes between rds 7 and 8, about 7 sts apart, on the opposite side of the ch 7.
Rd 18: sc, inc, sc 5, (sc 7, inc) x6, sc 5, inc, sc, inc, sc 2, inc (76)
Rd 19: sc around (76)
There are more pictures in the downloadable PDF version purchasable here!
Rd 20: sc 72, this is where you will add the longest tail feather, insert your hook through the 1st st of the tail and body doing (sc 4), (weaving your ends in as you sc) (76)
Rd 21: sc 72, this is where you will add the middle tail feather, insert your hook through the 1st st of the tail and body doing (sc 4), (weaving your ends in as you sc) (76)
Rd 22: sc 72, this is where you will add the shortest tail feather, insert your hook through the 1st st of the tail and body doing (sc 4), (weaving your ends in as you sc) (76)
Rd 23-26: sc around (76) (4 rounds)
Rd 27: sc 17, dec (72)
Rd 28: sc 10, dec (66)
Rd 29: sc 9, dec (60)
Rd 30: sc 8, dec (54)
Rd 31: sc 7, dec (48)
Rd 32: sc 6, dec (42)
Rd 33: sc 5, dec (36)
Rd 34: sc 4, dec (30)
Rd 35: sc 3, dec (24)
Rd 36: sc 2, dec (18)
Rd 37: sc, dec (12)
Rd 38: dec (6)
FO, leaving a long tail for closing up the hole and tacking up the feathers.
After closing the hole take the sewing end and tack the feathers up against the body, and then to each other feather. Tack the feathers only a couple of rds up from where the feather is attached to the body. This way the feathers can hang off to the side.
Wings (make 2)-
There are more pictures in the downloadable PDF version purchasable here!
Body Color
Rd 1: sc 6 in MR
Rd 2: sc around (6)
Rd 3: sc, inc (9)
Rd 4: sc around (9)
Rd 5: sc 2, inc (12)
Rd 6: sc 3, inc (15)
Rd 7: sc 4, inc (18)
Rd 8: sc 5, inc (21)
Rd 9: sc 6, inc (24)
Rd 10: sc 7, inc (27)
Rd 11-15: sc around (27) (5 rounds)
Rd 16: sc 7, dec (24)
Rd 17: (sc 3, dec) x4, sc 4 (20)
Rd 18: sc 2, dec (15)
Rd 19: sc around (15) Don’t stuff.
Row 20: fold, and sc through both, 7 times to close.
FO, leaving a tail for sewing. Attach on an angle on the body, starting between rds 17 and 18 of the body, down to between rds 23 and 24.
Rd 1: sc 5 in MR
Rd 2: sc around (5)
Rd 3: inc (10)
Rd 4: sc around (10)
FO, leaving a tail for sewing.
Attach between the eyes with the top between rds 7 and 8 and stuff as you sew.
Rd 1: sc 4 in MR
Rd 2: inc (8)
Rd 3: sc around (8)
Rd 4: dec (4) You don’t need to stuff.
FO, leaving a tail for sewing.
Attach to the underside of the beak.
Rd 1: sc 4 in MR
Rd 2: sc around (4)
Rd 3: sc 2, dec (3) Don’t Stuff.
FO, leaving a tail for sewing.
Make 1
Rd 1: sc 4 in MR
Rd 2-3: sc around (4) (2 rounds)
Rd 4: sc 2, dec (3) Don’t Stuff.
FO, leaving a tail for sewing.
Line up all 3 comb pieces together with the longer piece in the middle. Sew to the top of the head.
Feet (make 2)
There are more pictures in the downloadable PDF version purchasable here!
Yellow
Make 3 toes
Rd 1: sc 6 in MR
Rd 2-6: sc around (6) (5 rounds)
FO for the first two toes, on the third you will now continue onto rd 7.
Rd 7: line up the toes and sc 3 on the second toe, sc 6 around the third, sc 3 on the second, sc 6 around the first (18)
Rd 8-9: sc around (18) (2 rounds)
Rd 10: sc, dec (12)
Rd 11: sc around
Rd 12: dec (6) You don’t need to stuff.
FO leaving a tail for sewing. Center the main part of both feet on the bottom of the body and sew on.
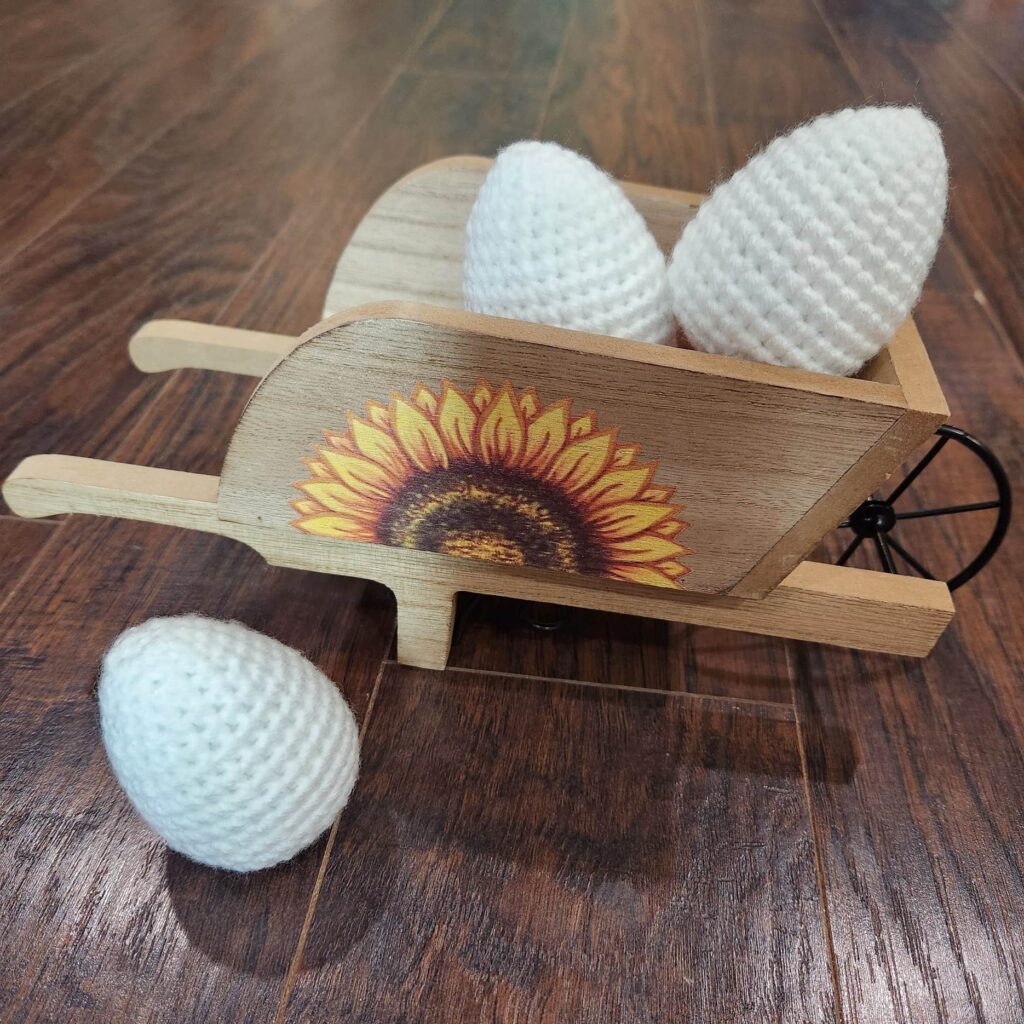
There is a pattern for some adorable eggs to go with Aren and a lot more pictures for this Part that can be found in the pdf copy found here,
I would love to see your pictures! Please tag me in your pictures.
@crochetwizzard #crochetwizzard! #pencilbuddies #trianglebuddies #crochetpencil #crochetapple #crochetbook!
If you have any questions, please feel free to contact me! You can direct message me on Facebook or Instagram at @crochetwizzard or email me at amidesigns@crochetwizzard.com.
