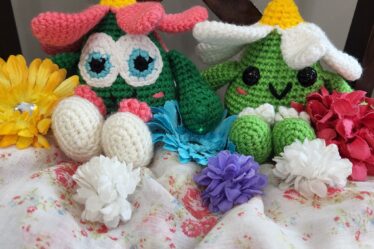
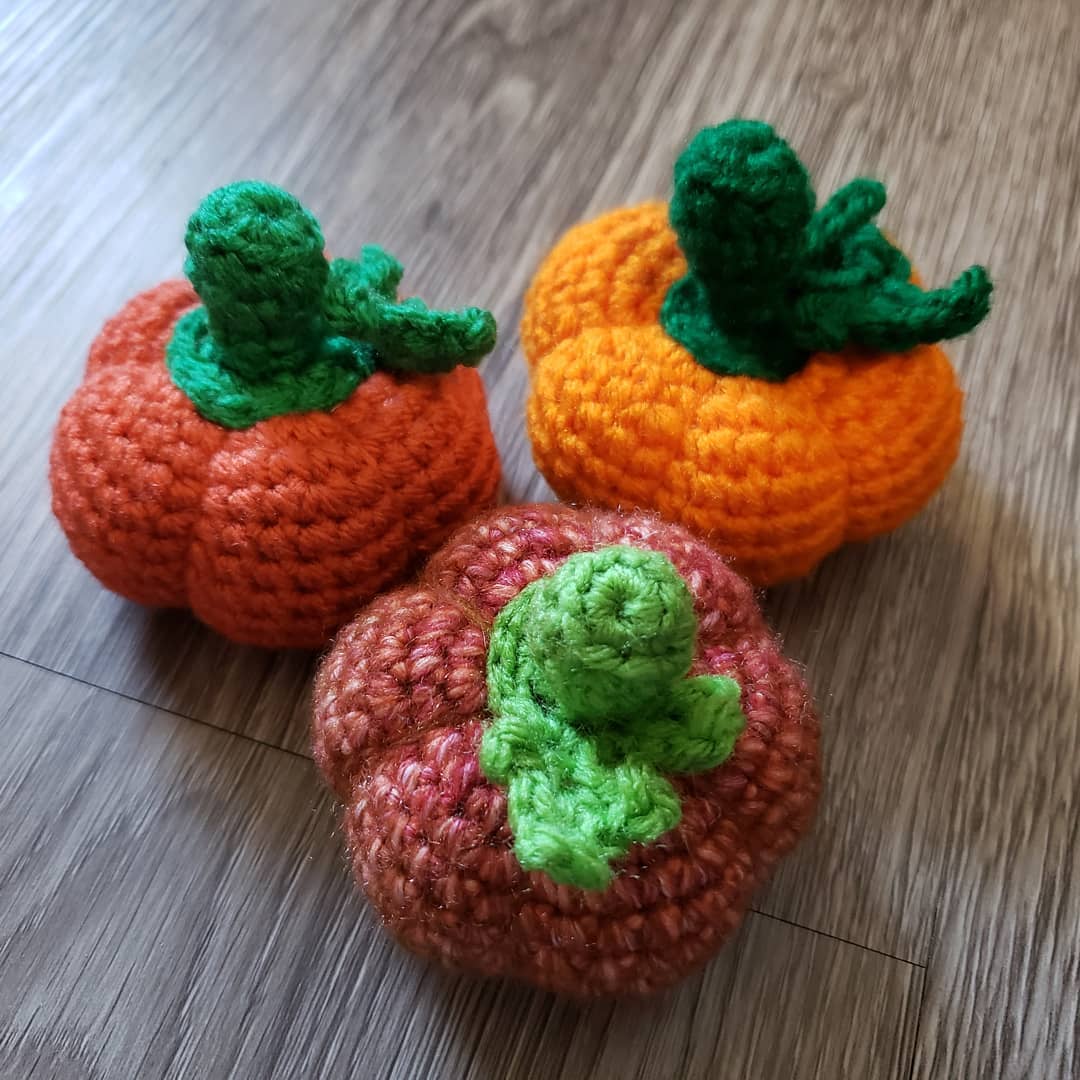


I love mini amigurumi a lot! Last year I made a medium sized pumpkin and I had to make a mini version of it this year! I just love them!! They are so adorable!! I hope you love this quick make!!


Do not sell, reproduce, or change the pattern itself in any way! You are welcome to sell your completed products, just make sure to refer to me as the designer! Please make sure to tag me
@crochetwizzard #crochetwizzard!
Materials-
- Worsted weight yarn
- Orange and Green
- Hook size 3.5mm (E)
- Stitch Marker
- PolyFill
- Tapestry Needle
- Scissors
- Sewing Pins
US Abbreviations-
- Rd(s)- Round(s)
- MR- Magic Ring
- Sc- Single Crochet
- Hdc- Half Double Crochet
- Sl St- Slip Stitch
- St(s)- Stitch(s)
- Inc- Increase
- Dec- Invisible Decrease
- In front loops only pick up the next two loops, yarn over, and pull through twice.
- P- Picot
- Ch 3 and sl st in the third ch from the hook.
- FO- Fasten Off
- FLO- Front Loop Only
Notes-
- Magic Ring Alternative- chain 2 and single crochet in the second chain from the hook.
- This will be crocheted in the round.
- If not specified or in () repeat to the end of the round.
- Stuff as you go.
Pumpkin
Orange
Rd 1: sc 6 in MR
Rd 2: inc (12)
Rd 3: sc, inc (18)
Rd 4: sc 2, inc (24)
Rd 5: sc 3, inc (30)
Rd 6: sc 4, inc (36)
Rds7-11: sc around (36) (5 rounds)
Rd 12: sc 4, dec (30)
Rd 13: sc 3, dec (24)
Rd 14: sc 2, dec (18)
Rd 15: sc, dec (12) Stuff very loosely so that you have room to form the shape.
Rd 16: dec (6)
FO leaving a long tail to create the bumps of the pumpkin. Close the hole by slipping the needle through the FLO and pulling tight. To create the bumps, start by inserting your tapestry needle through the hole you just closed up on rd 16 and down to the MR at the bottom. Insert the needle into a stitch on rd 1 going back through the center of the pumpkin and out of the hole on rd 16. Pull tight to create the sunken in look. *Now you will take the needle and insert your needle back through the pumpkin, through the top to the bottom like the first bump and pull tight. This will create an indent on the outside. Continue to repeat from * 5 more times to create 6 bumps, wrapping around the pumpkin 6 times total. To help get the bumps even, do one line and then come up and go down with the yarn being wrapped around the opposite side, to complete the “line” across the pumpkin. Continue doing that around the pumpkin. FO and sew in the ends.
Stem
Green
These next several steps; stem, leaf, and vine are all made as one piece without FO.
Rd 1: sc 10 in MR
Rd 2: sc 2, dec, sc 2, dec, sc 2 (8)
Rd 3: dec, sc 2, dec, sc 2 (6)
Rd 4: sc around (6)
Leaf
Ch 7, sl st in the third ch from the hook to make a p, (sc, hdc, p, hdc, sc, p, sl st in ch) in the next ch. Sl st in the next ch, sl st in the next 2 ch and the sc you made before the leaf.
Vines
Ch 4, in the second ch from the hook, sl st, sl st in the next 2 ch.
Ch 3, in the second ch from the hook, sl st, sl st in next ch.
Inc in each of the remaining sts of rd 4 in FLO and sl st to the base of the ch of the leaf.
FO and sew to the top of the pumpkin, stuffing a tiny bit, and sew in the ends.
I would love to see your pictures! Please tag me in your pictures,
@crochetwizzard #crochetwizzard #minipumpkin #crochetpumpkin!
If you have any questions, please feel free to contact me! You can direct message me on Facebook or Instagram at @crochetwizzard or email me at crochetwizzardd@gmail.com.